Building a hope chest
Building a hope chest to commemorate a high school graduation.
Hello and welcome to Hungry Woodworker, a humanistic exploration of woodworking, purpose, and making a living. I’m Taliesin and one thing I do when not working is write; some of which gets edited into essays and shared every other Thursday. Thank you for being here.

More than 20 years ago, my dad built two hope chests—one for a niece and one for the daughter of a close family friend to commemorate her high school graduation. That daughter and I became good friends; we get our families together every couple of months to eat good food, play games, and catch up on all our thoughts about the state of the world.
Last year she asked me if I'd make hope chests for her two daughters for their graduation presents. The oldest daughter graduates next month, so I have spent the last month working with my dad on the next generation of these gifts.

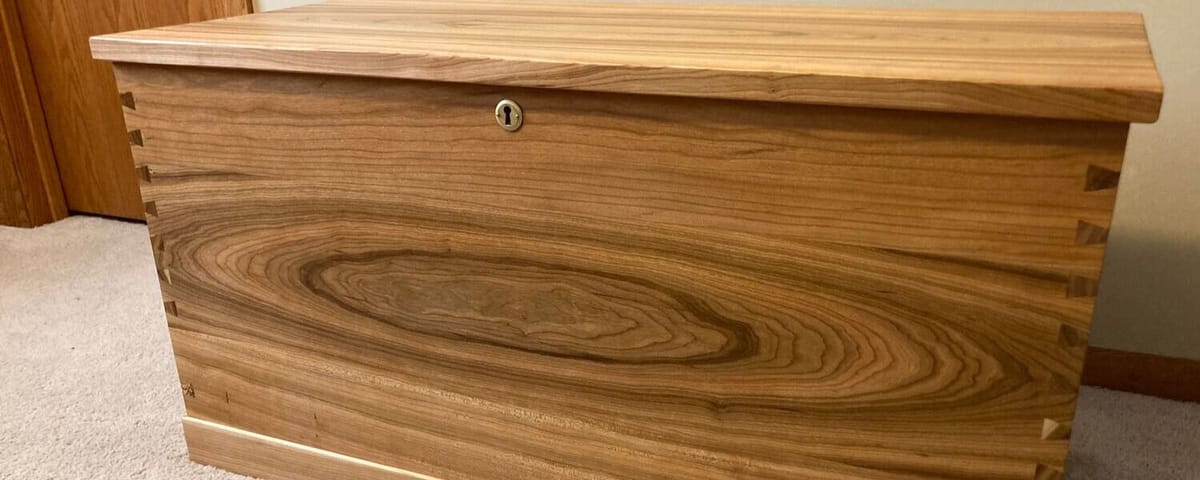
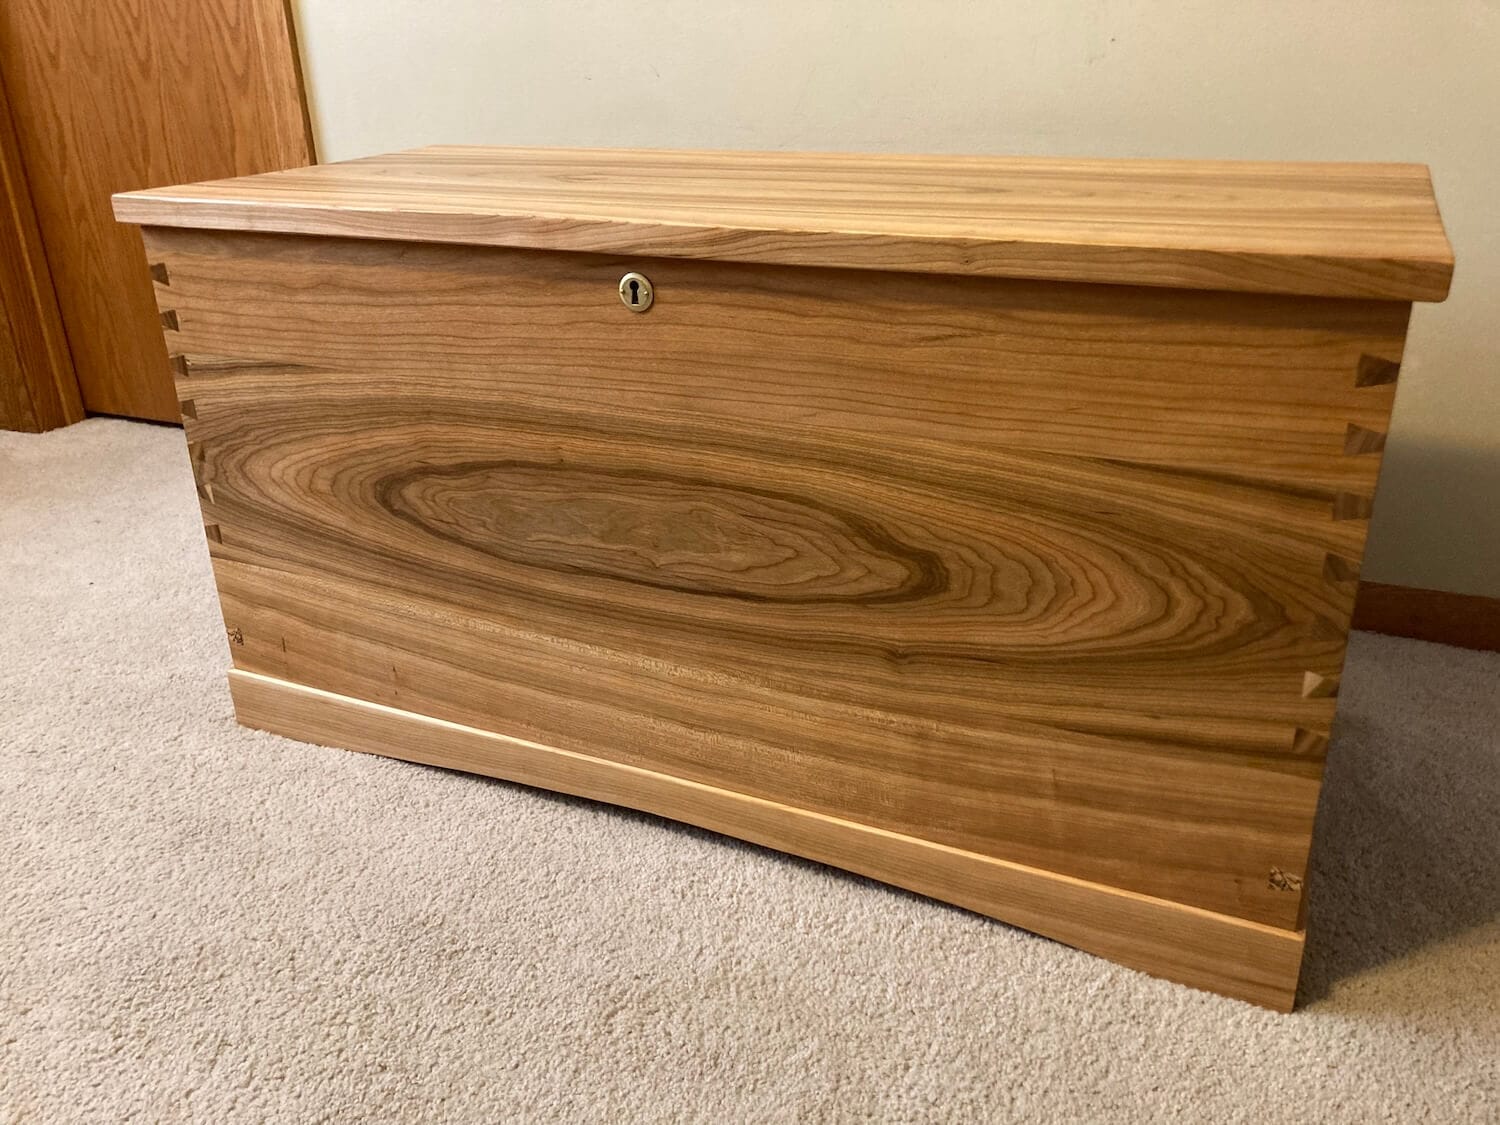
When I met with my friend's daughter last year and showed her some of my other work, she told me she liked the pieces in Cherry the best. So that's what we used for this project.
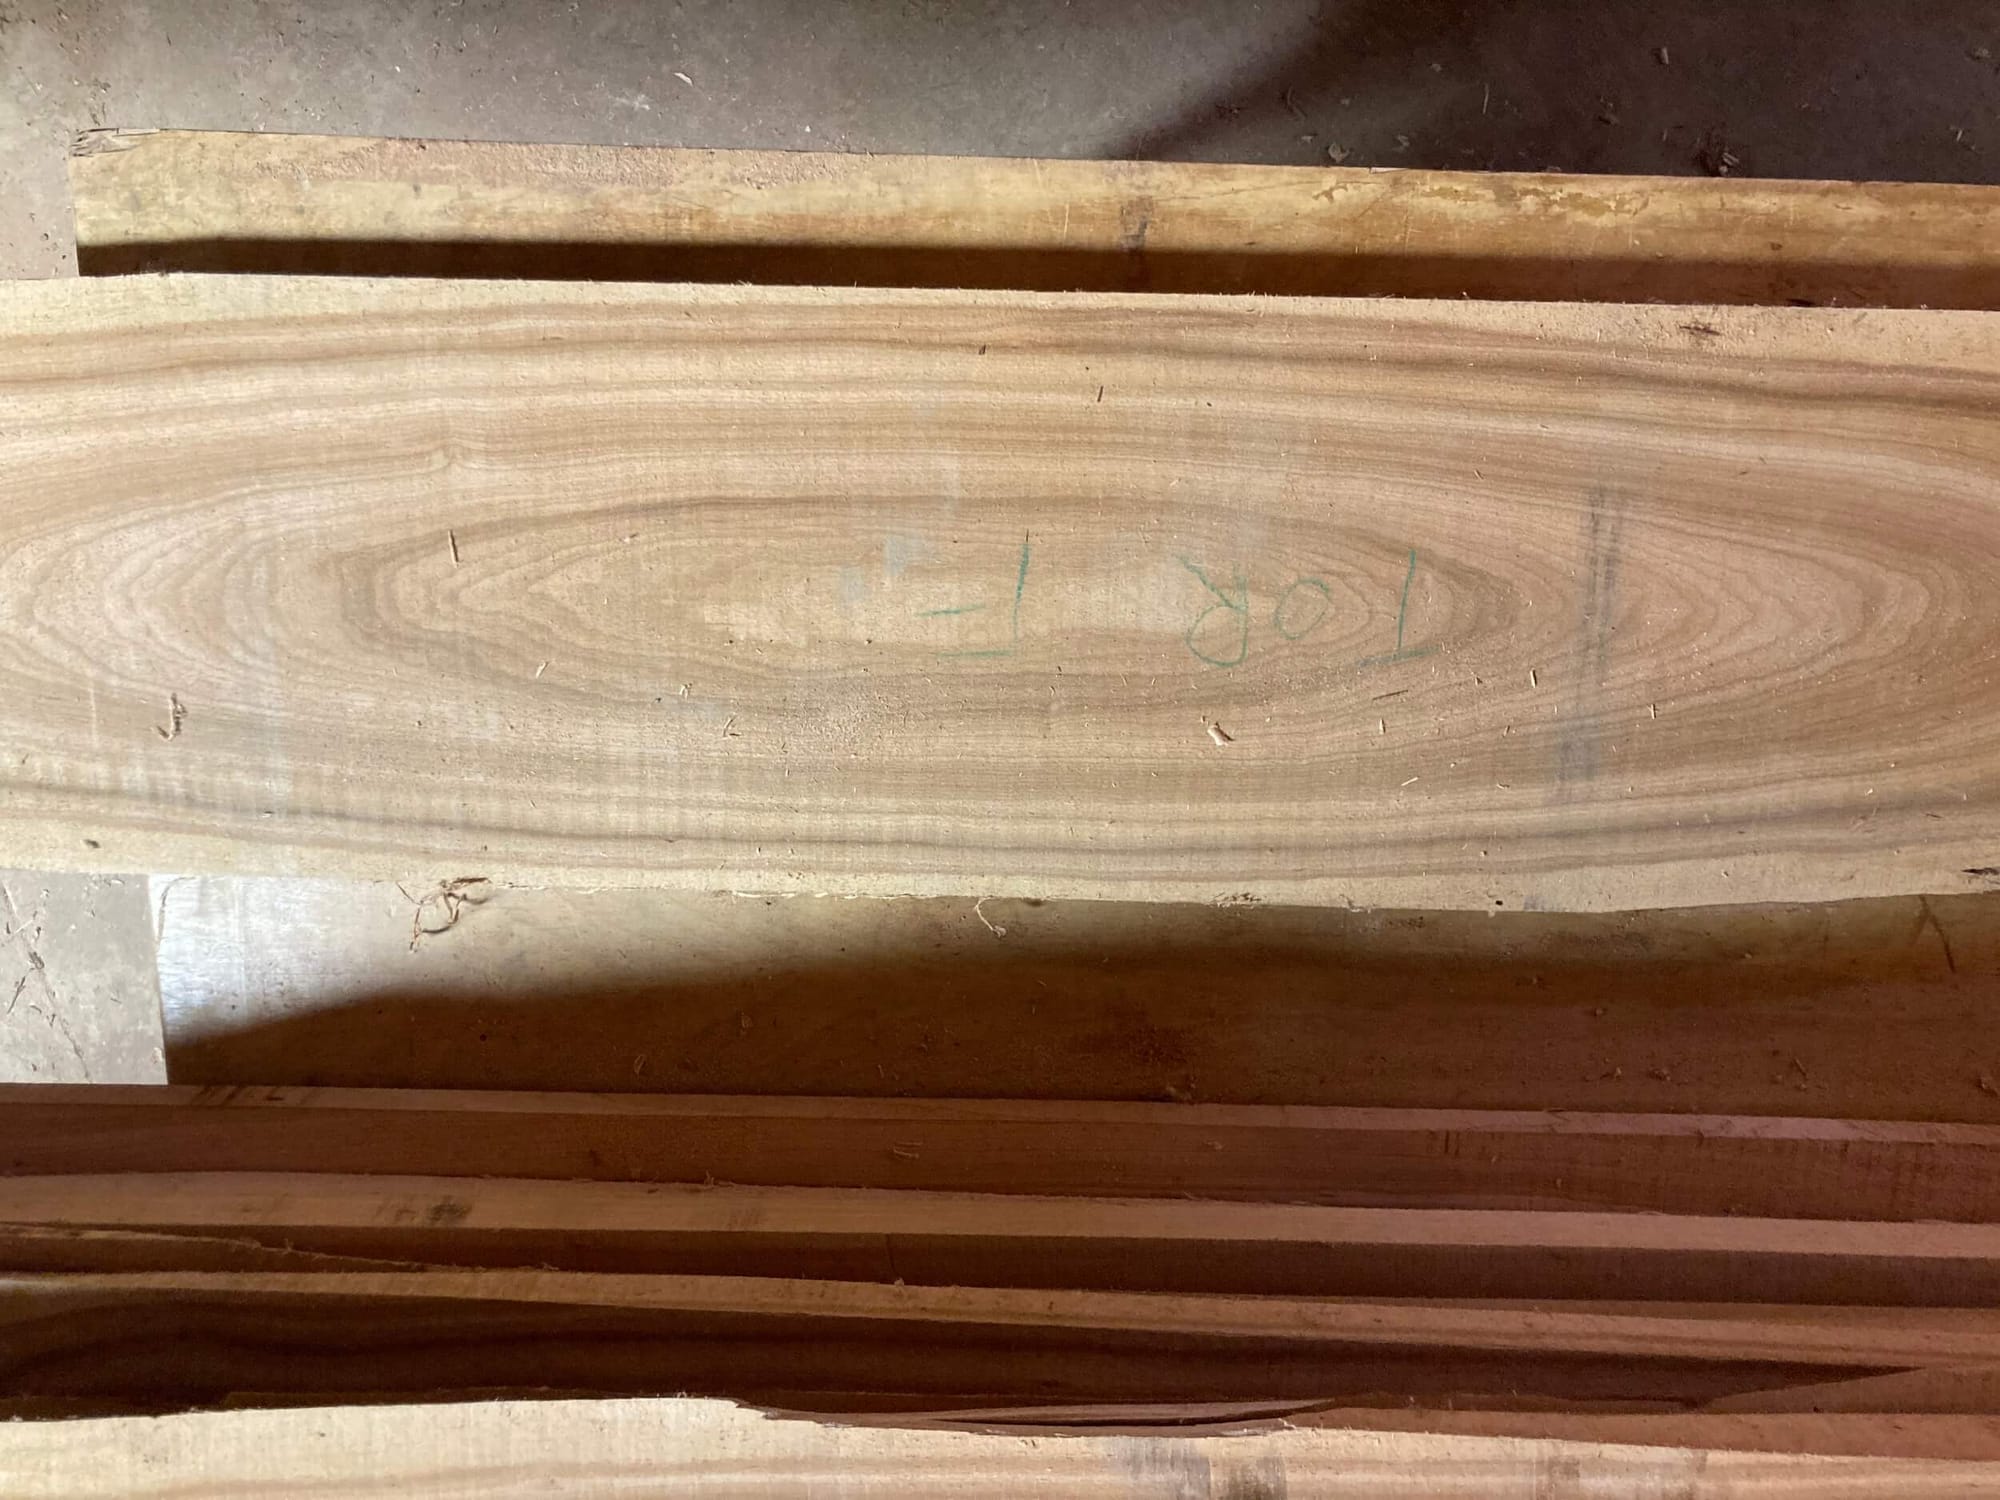
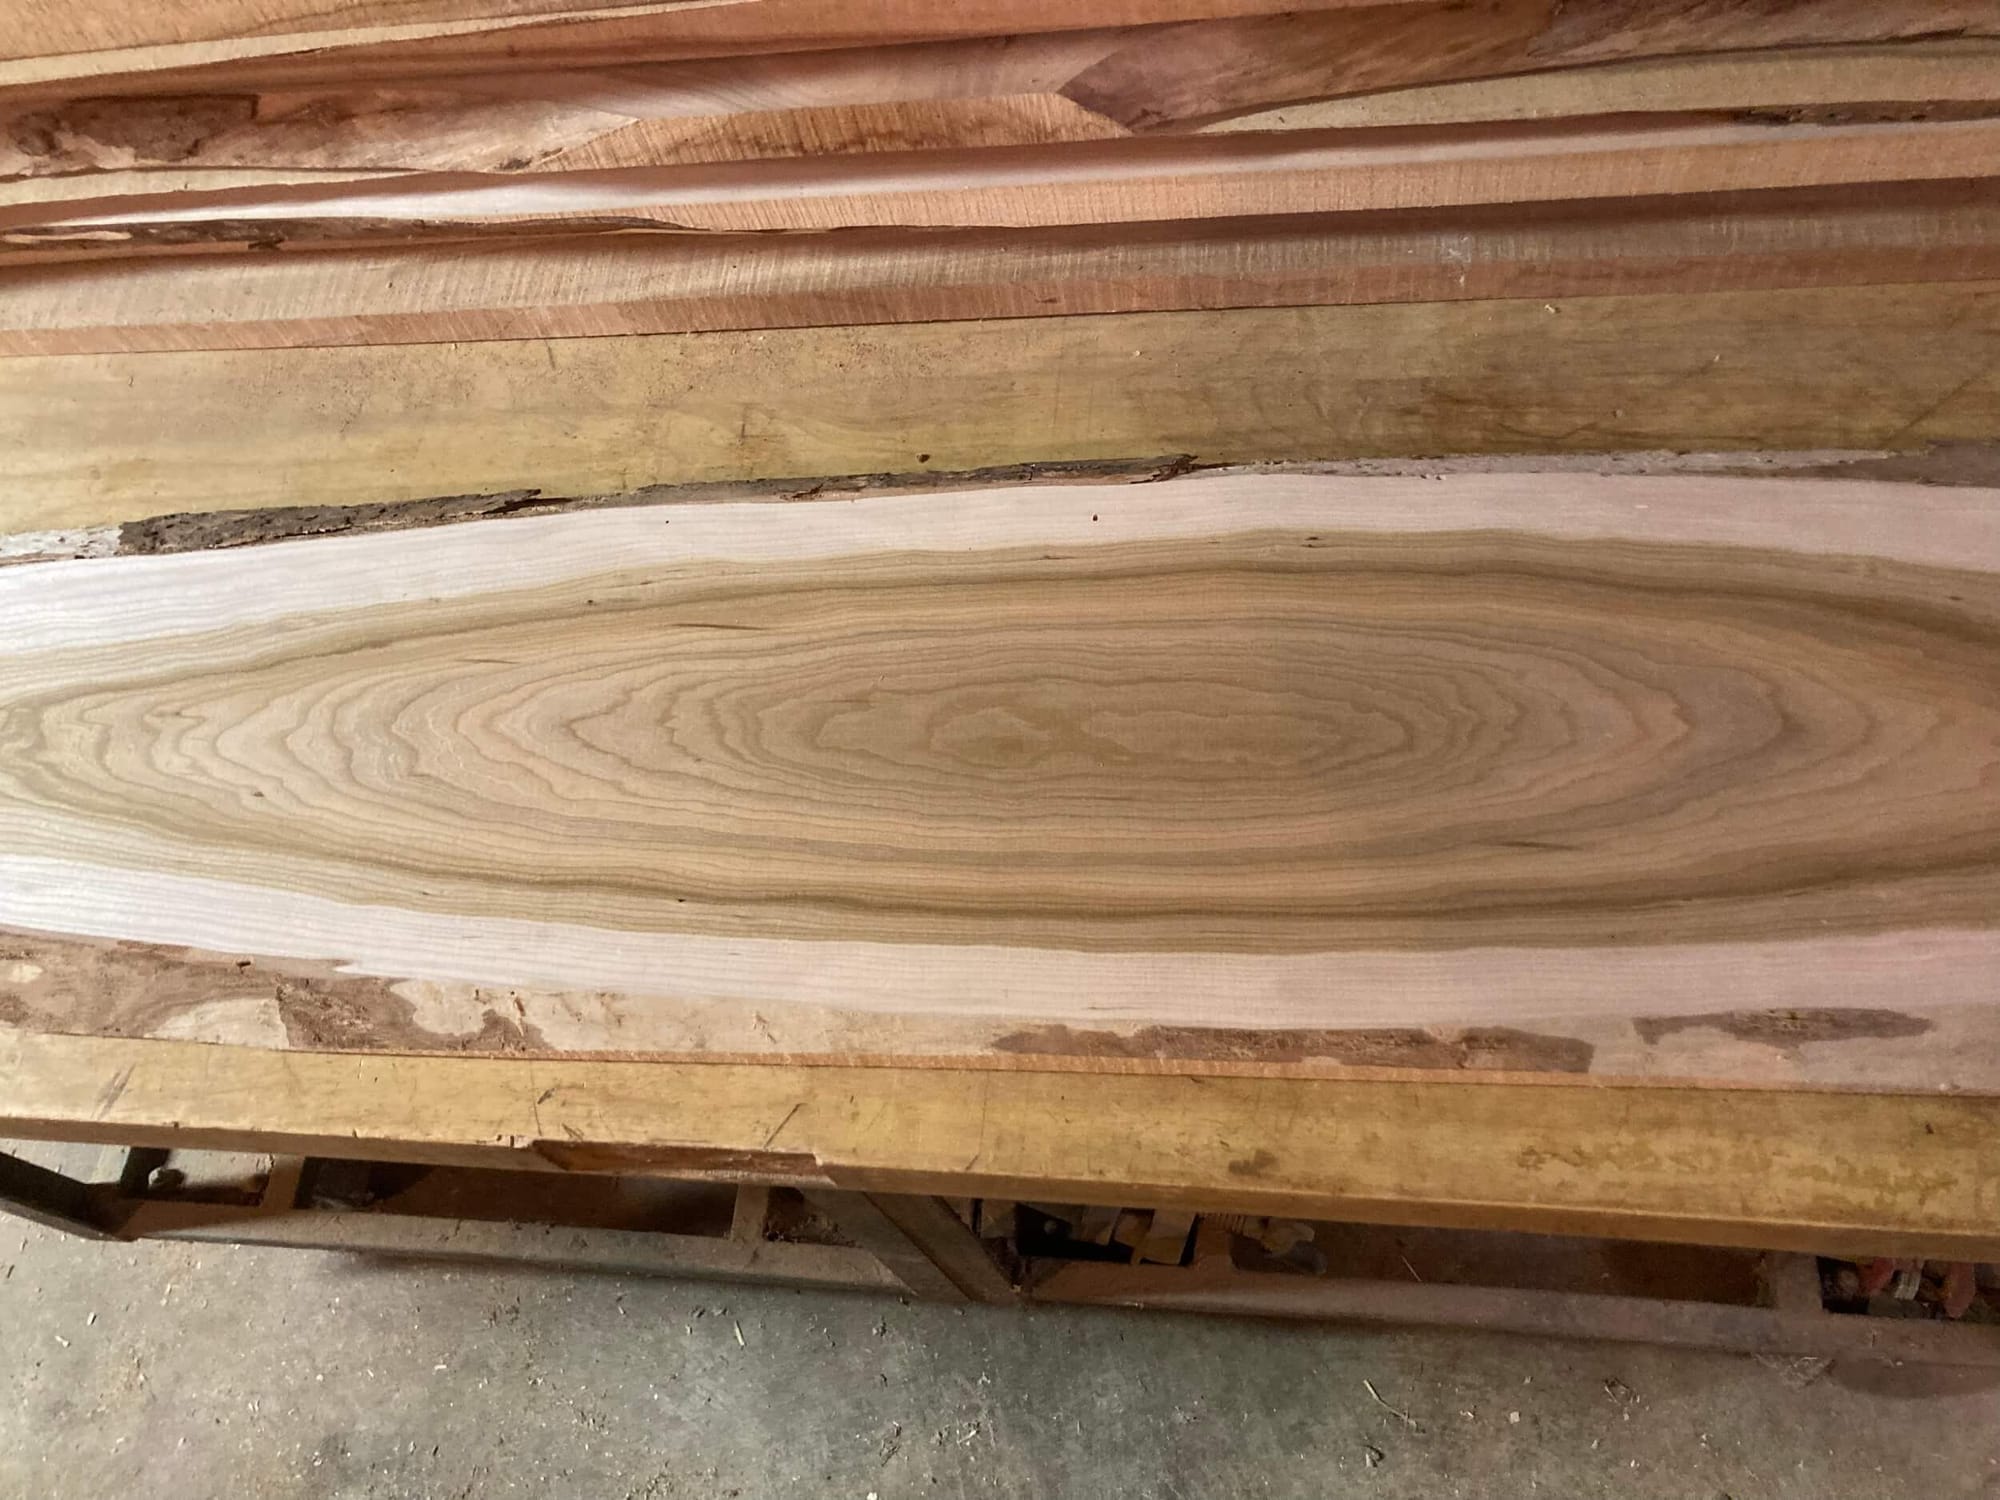
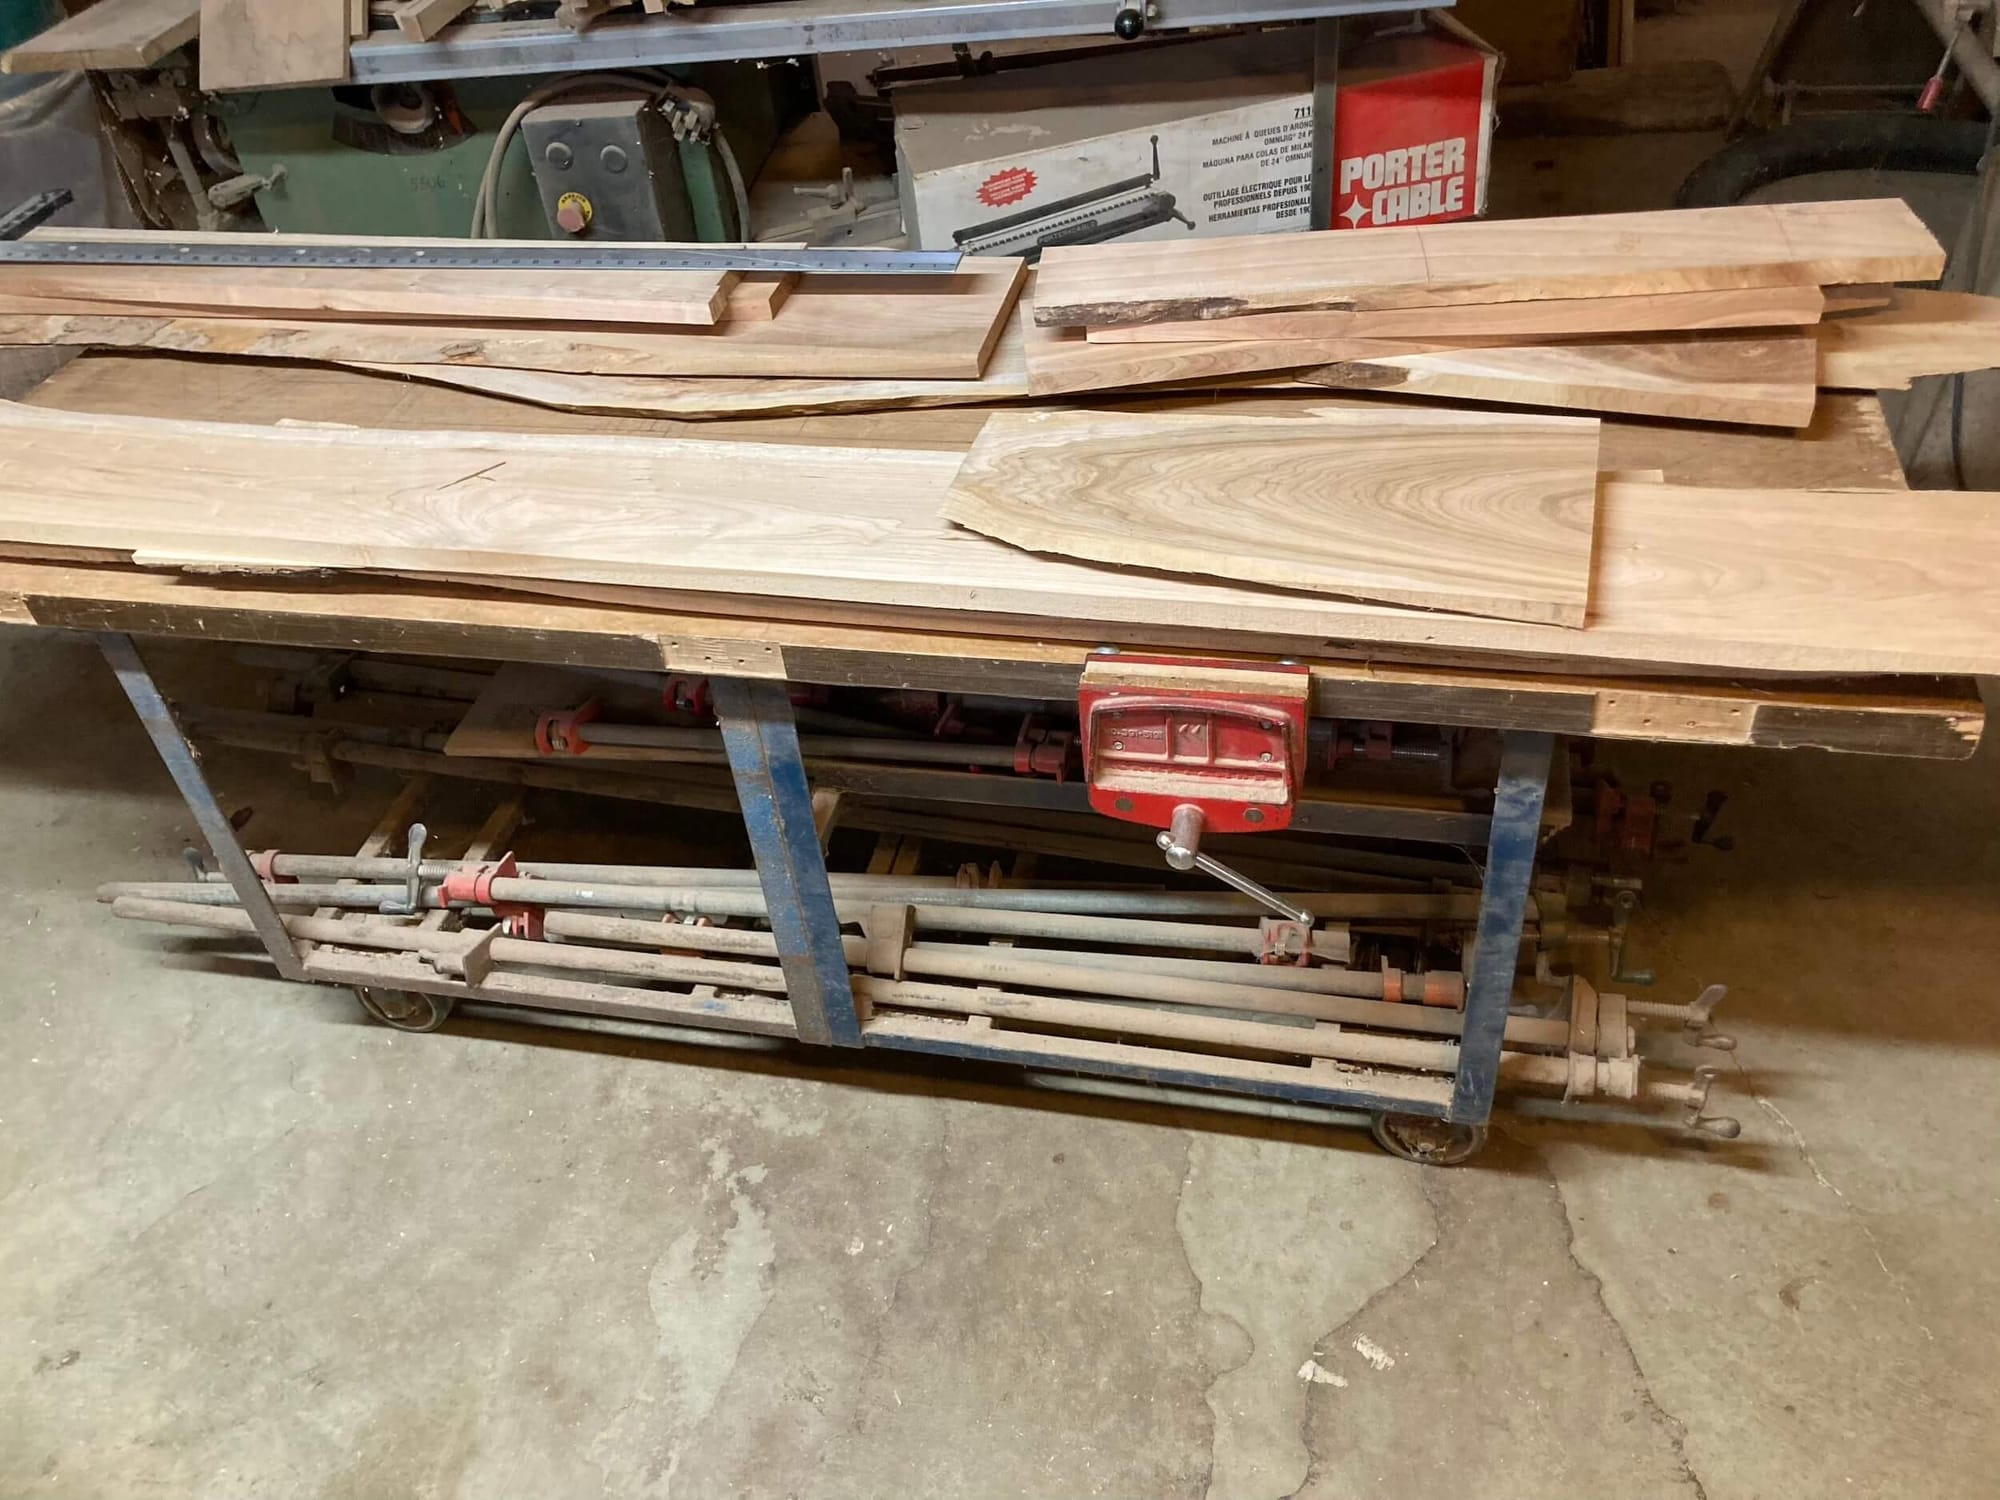
Last fall we looked through Dad's piles of Cherry lumber and pulled out a stack of boards (probably 10–15 boards, came to a wobbly stack three or so feet high), setting them in the shop to acclimate to the drier air.
That initial pass is like a first draft: anything that strikes my creative fancy makes it into the first pile. Interesting figure on an oddly shaped board? Check. Wide long board with so-so grain? Sure. At this point of the project, I don't want to think too much about editing, as that will come after I finalize the design and know exactly where I will need which kinds of pieces of wood. All I know is a rough estimate of the amount of wood I'll need.

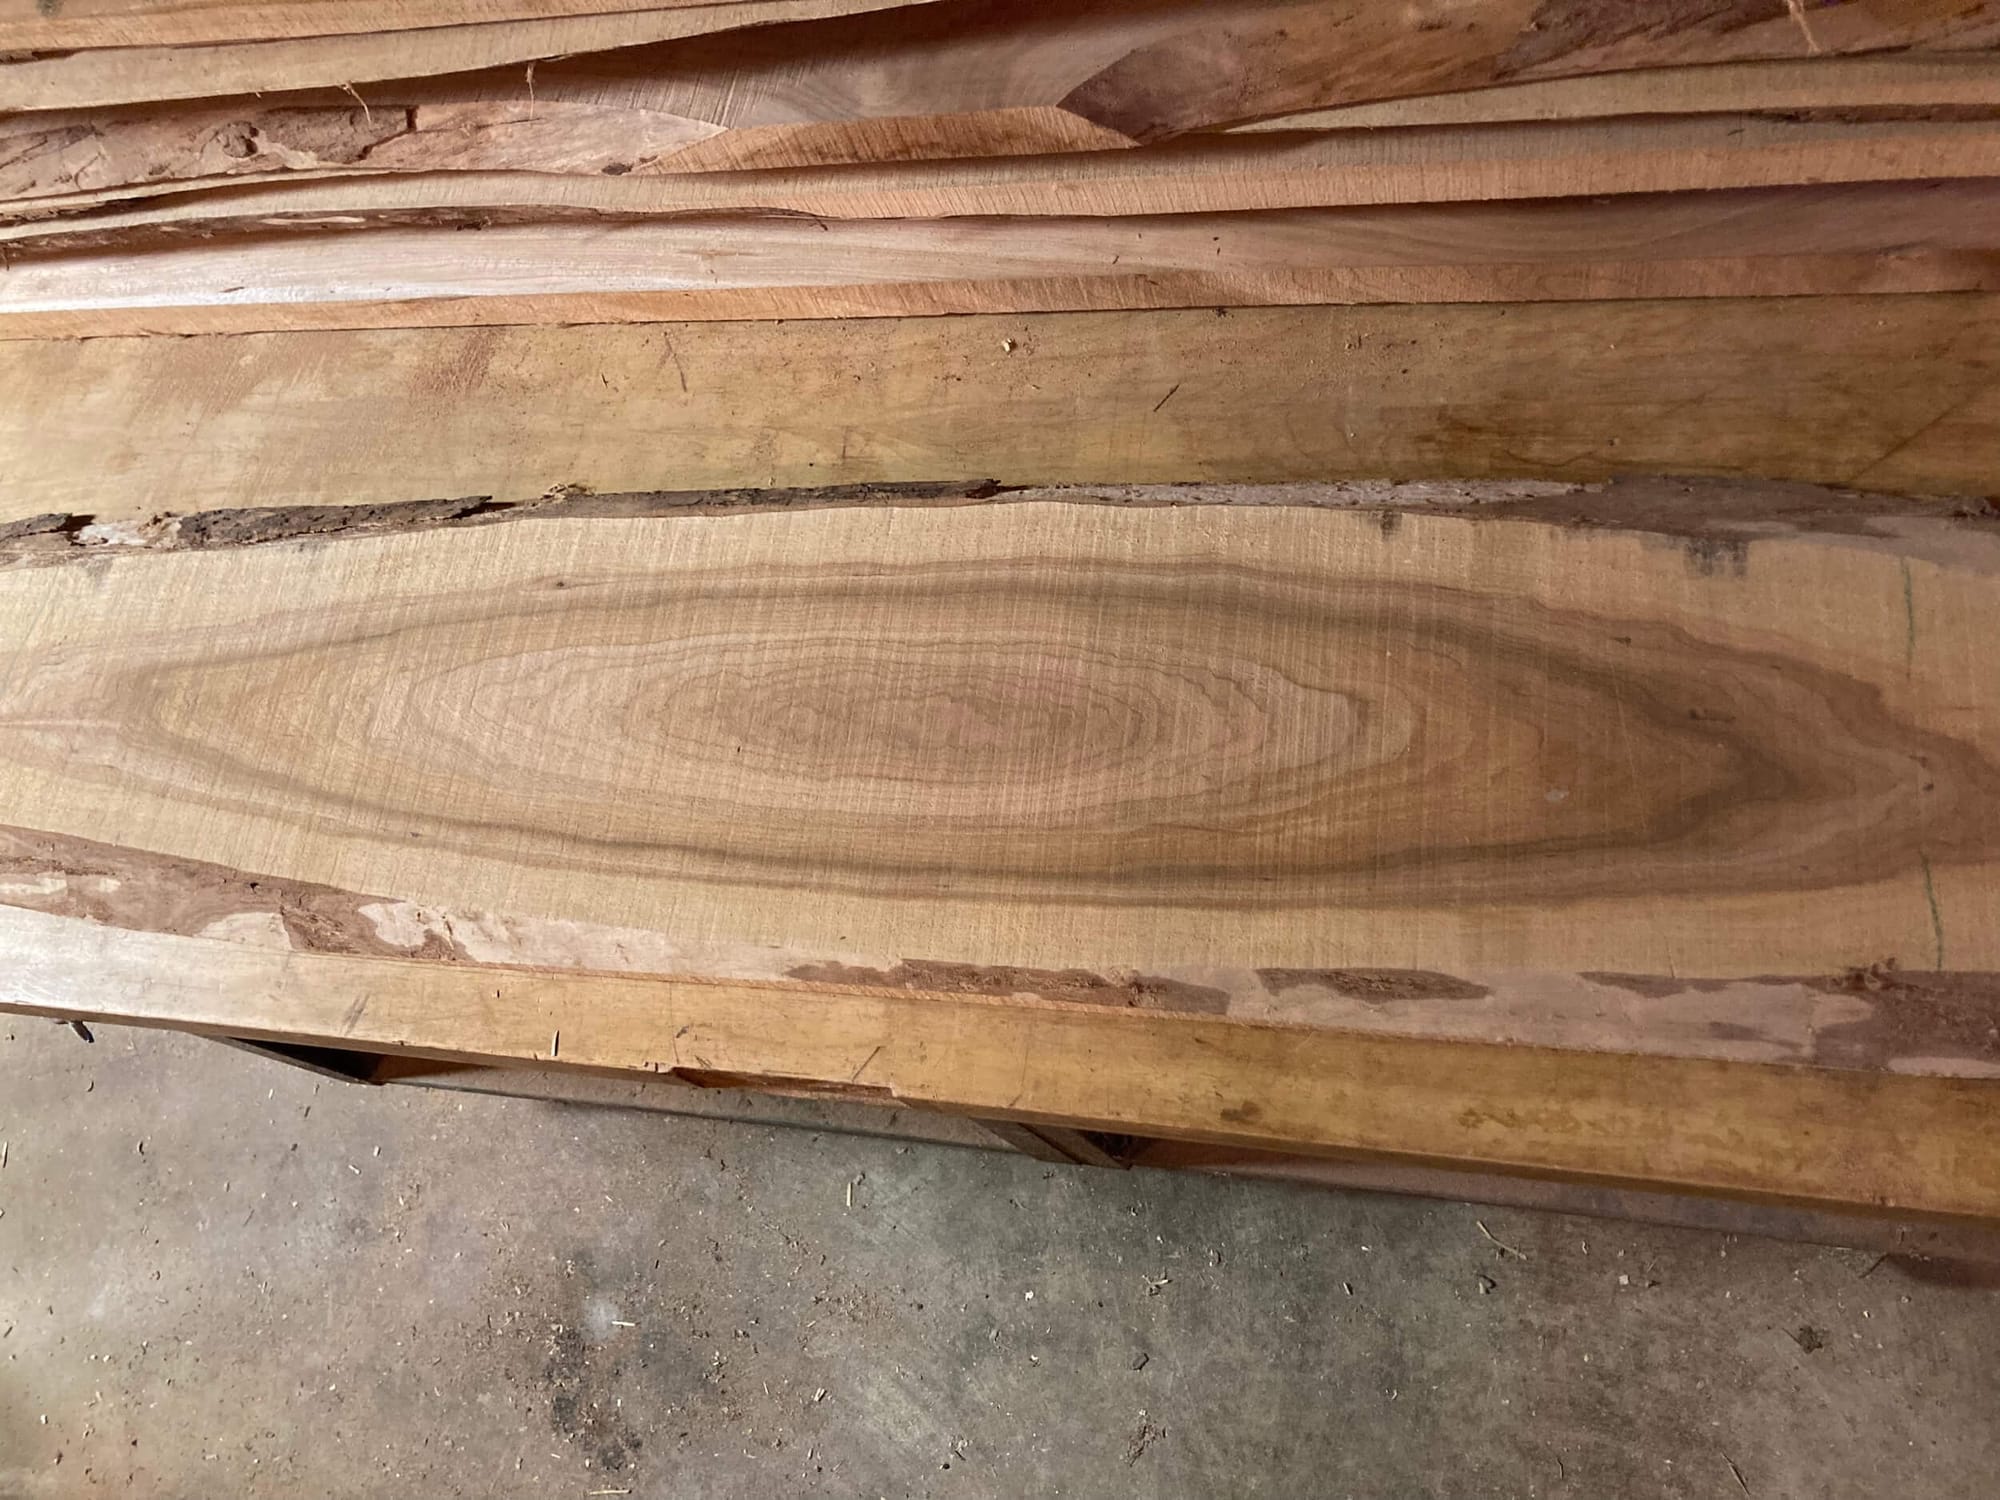
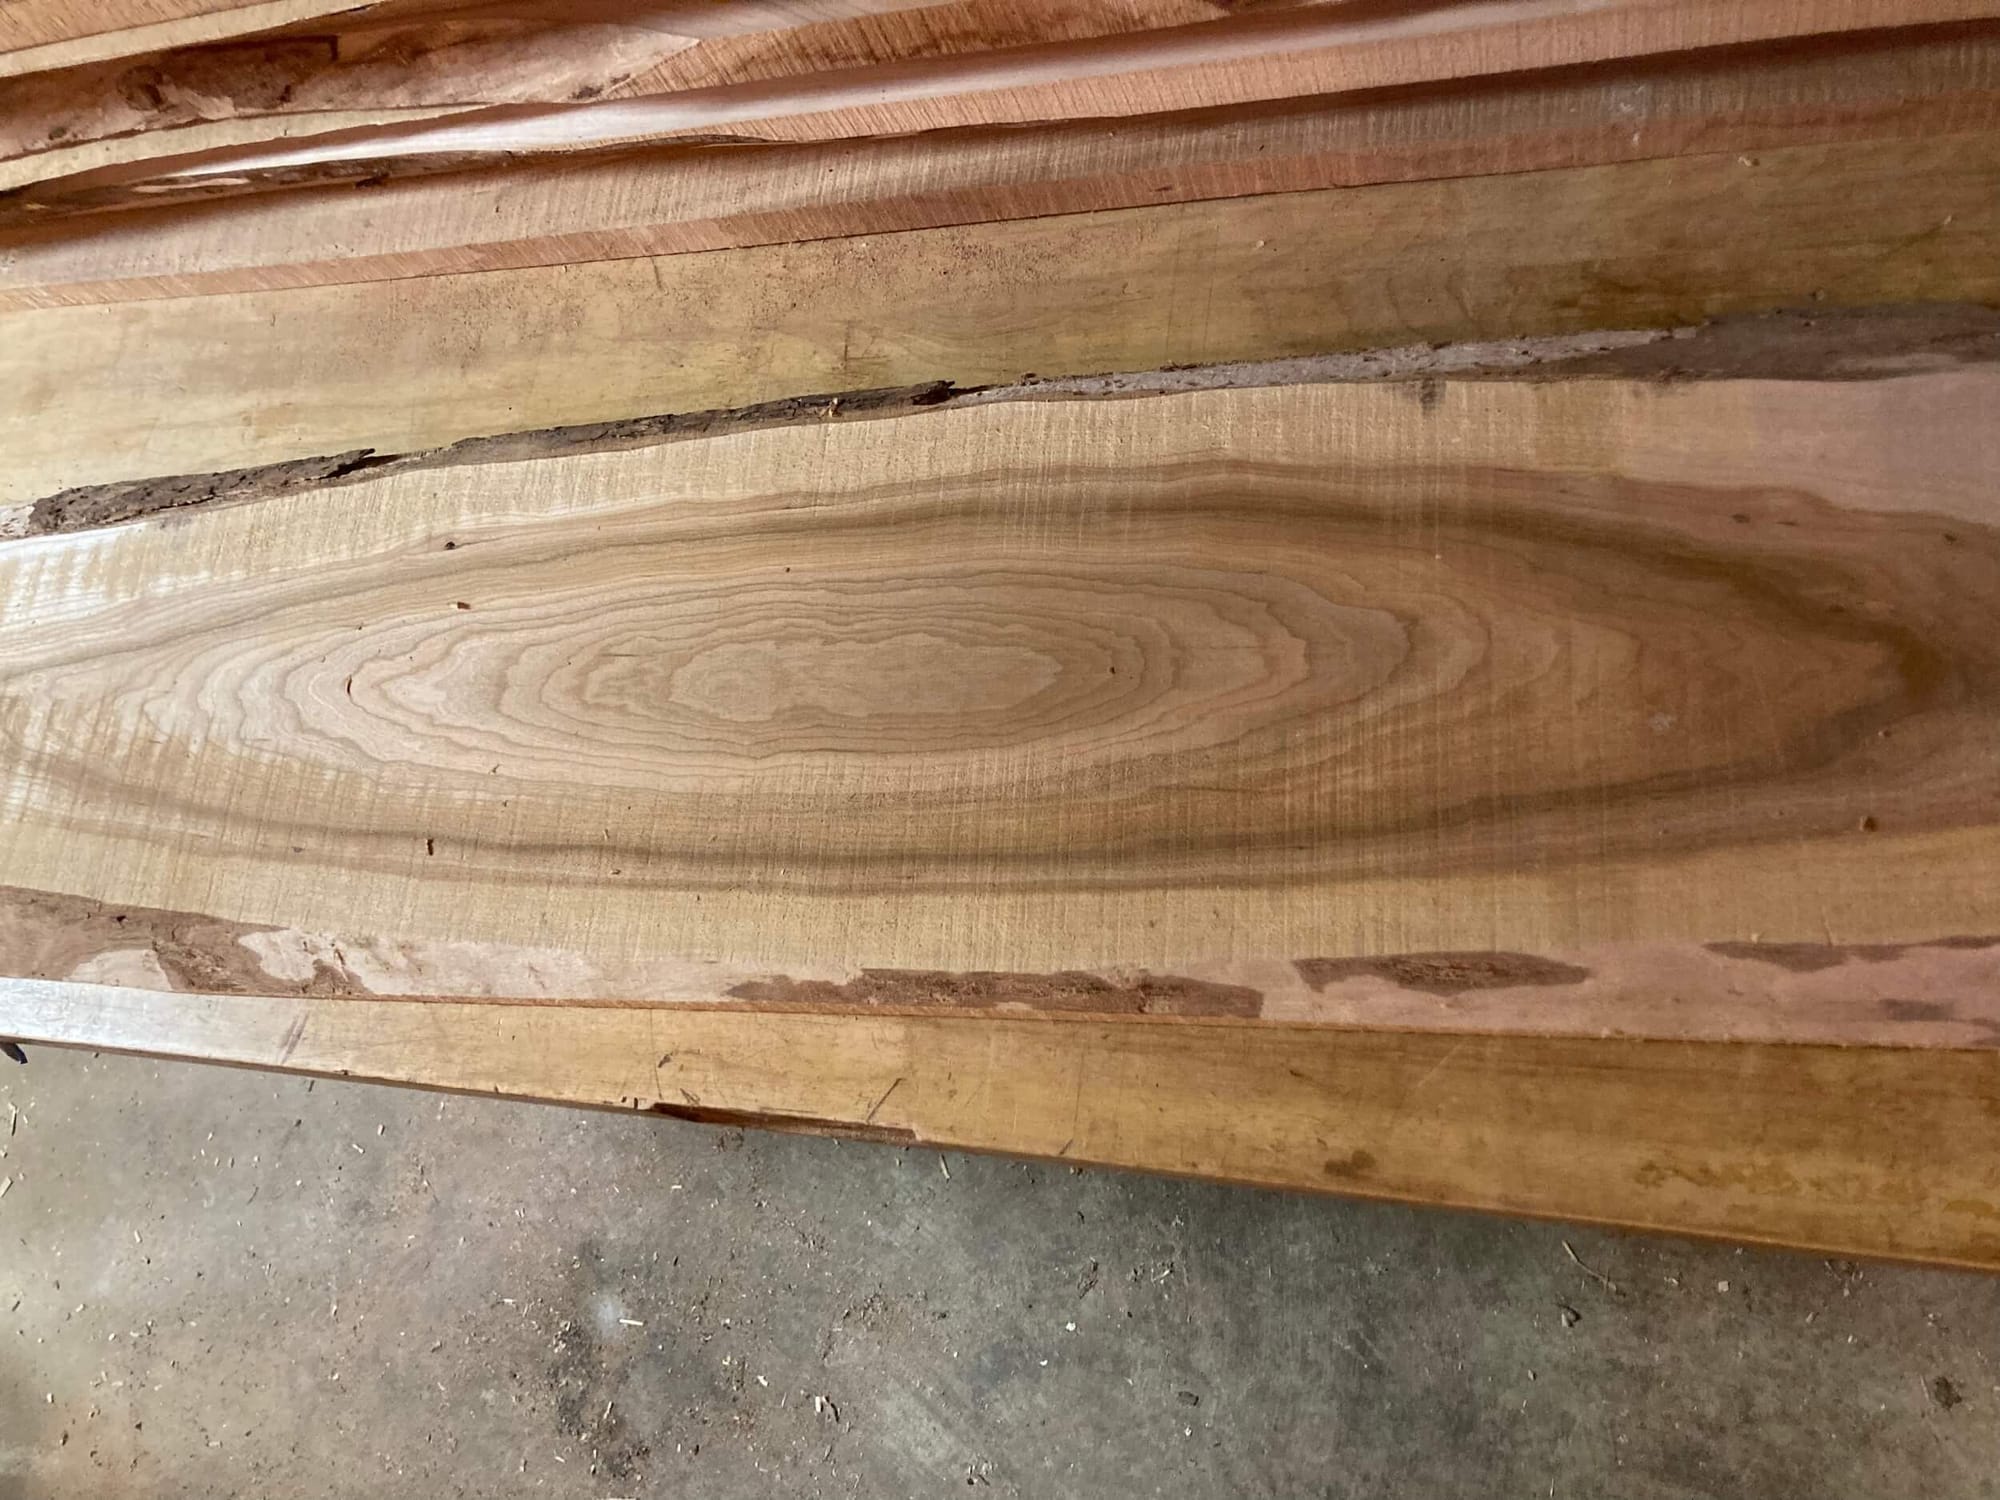
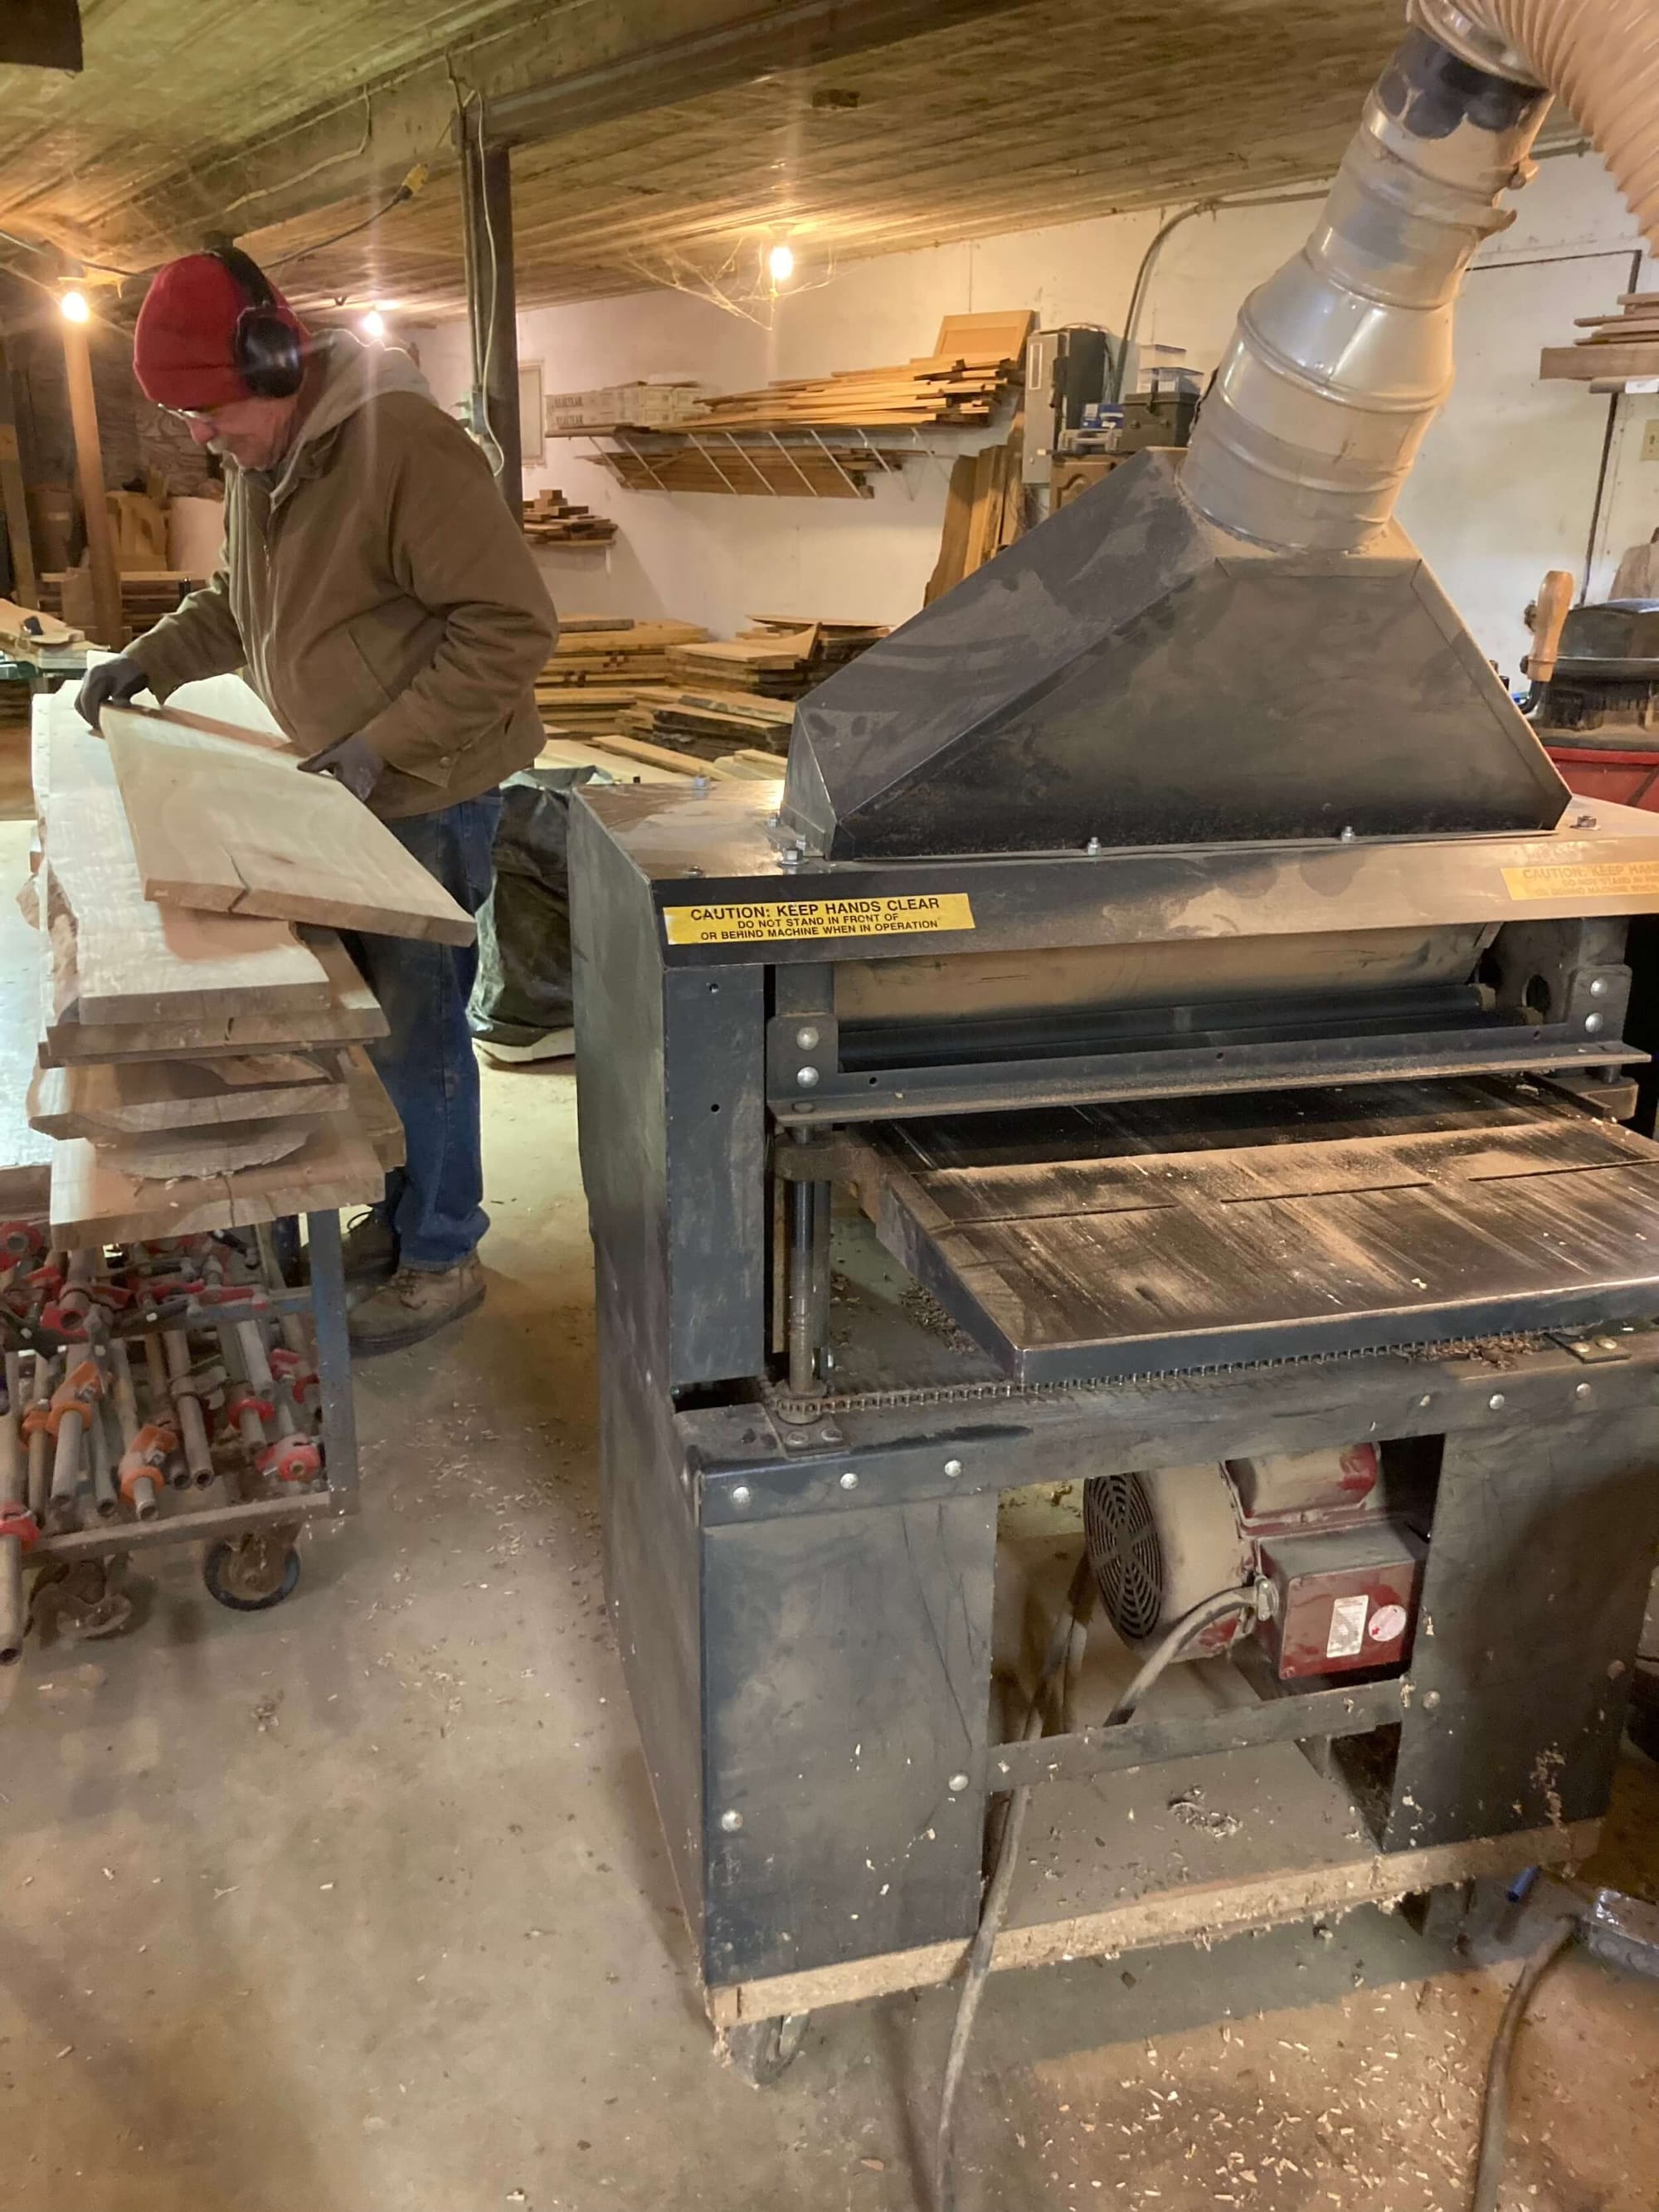
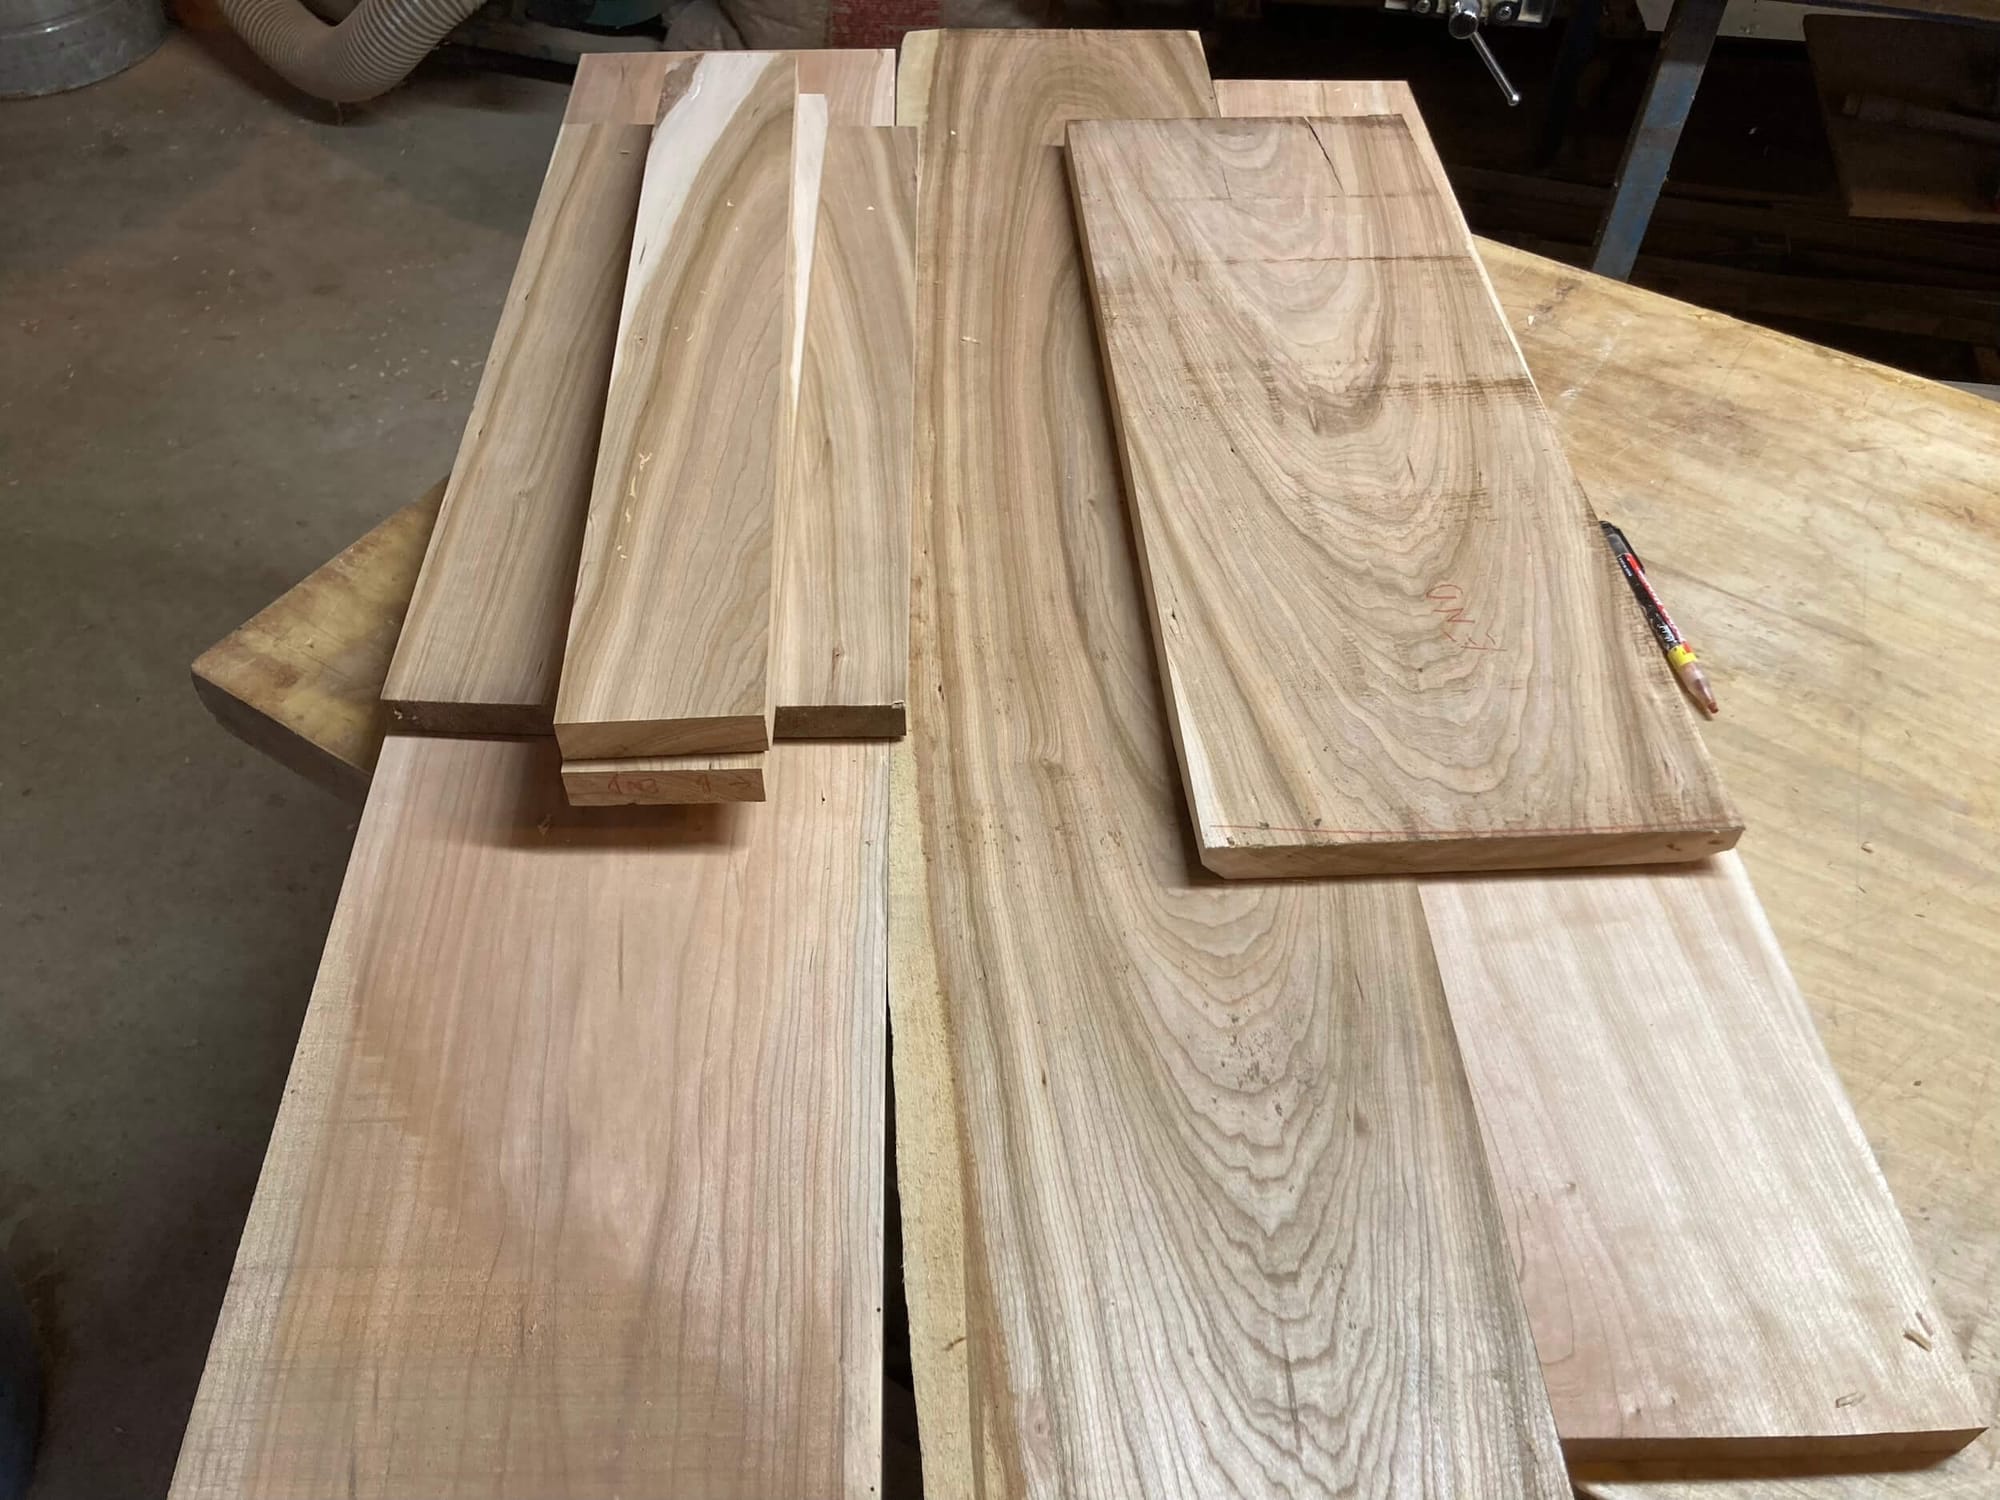
A month ago, after finishing up my grant project, I began work on this chest. We went through that draft pile and pulled out a variety of boards with the characteristics that I thought would be best showcased in the design. For example, I knew I wanted a circular shape for the front and lid of the chest. We took this edited pile and ran each of the boards through the planer to clean them up.
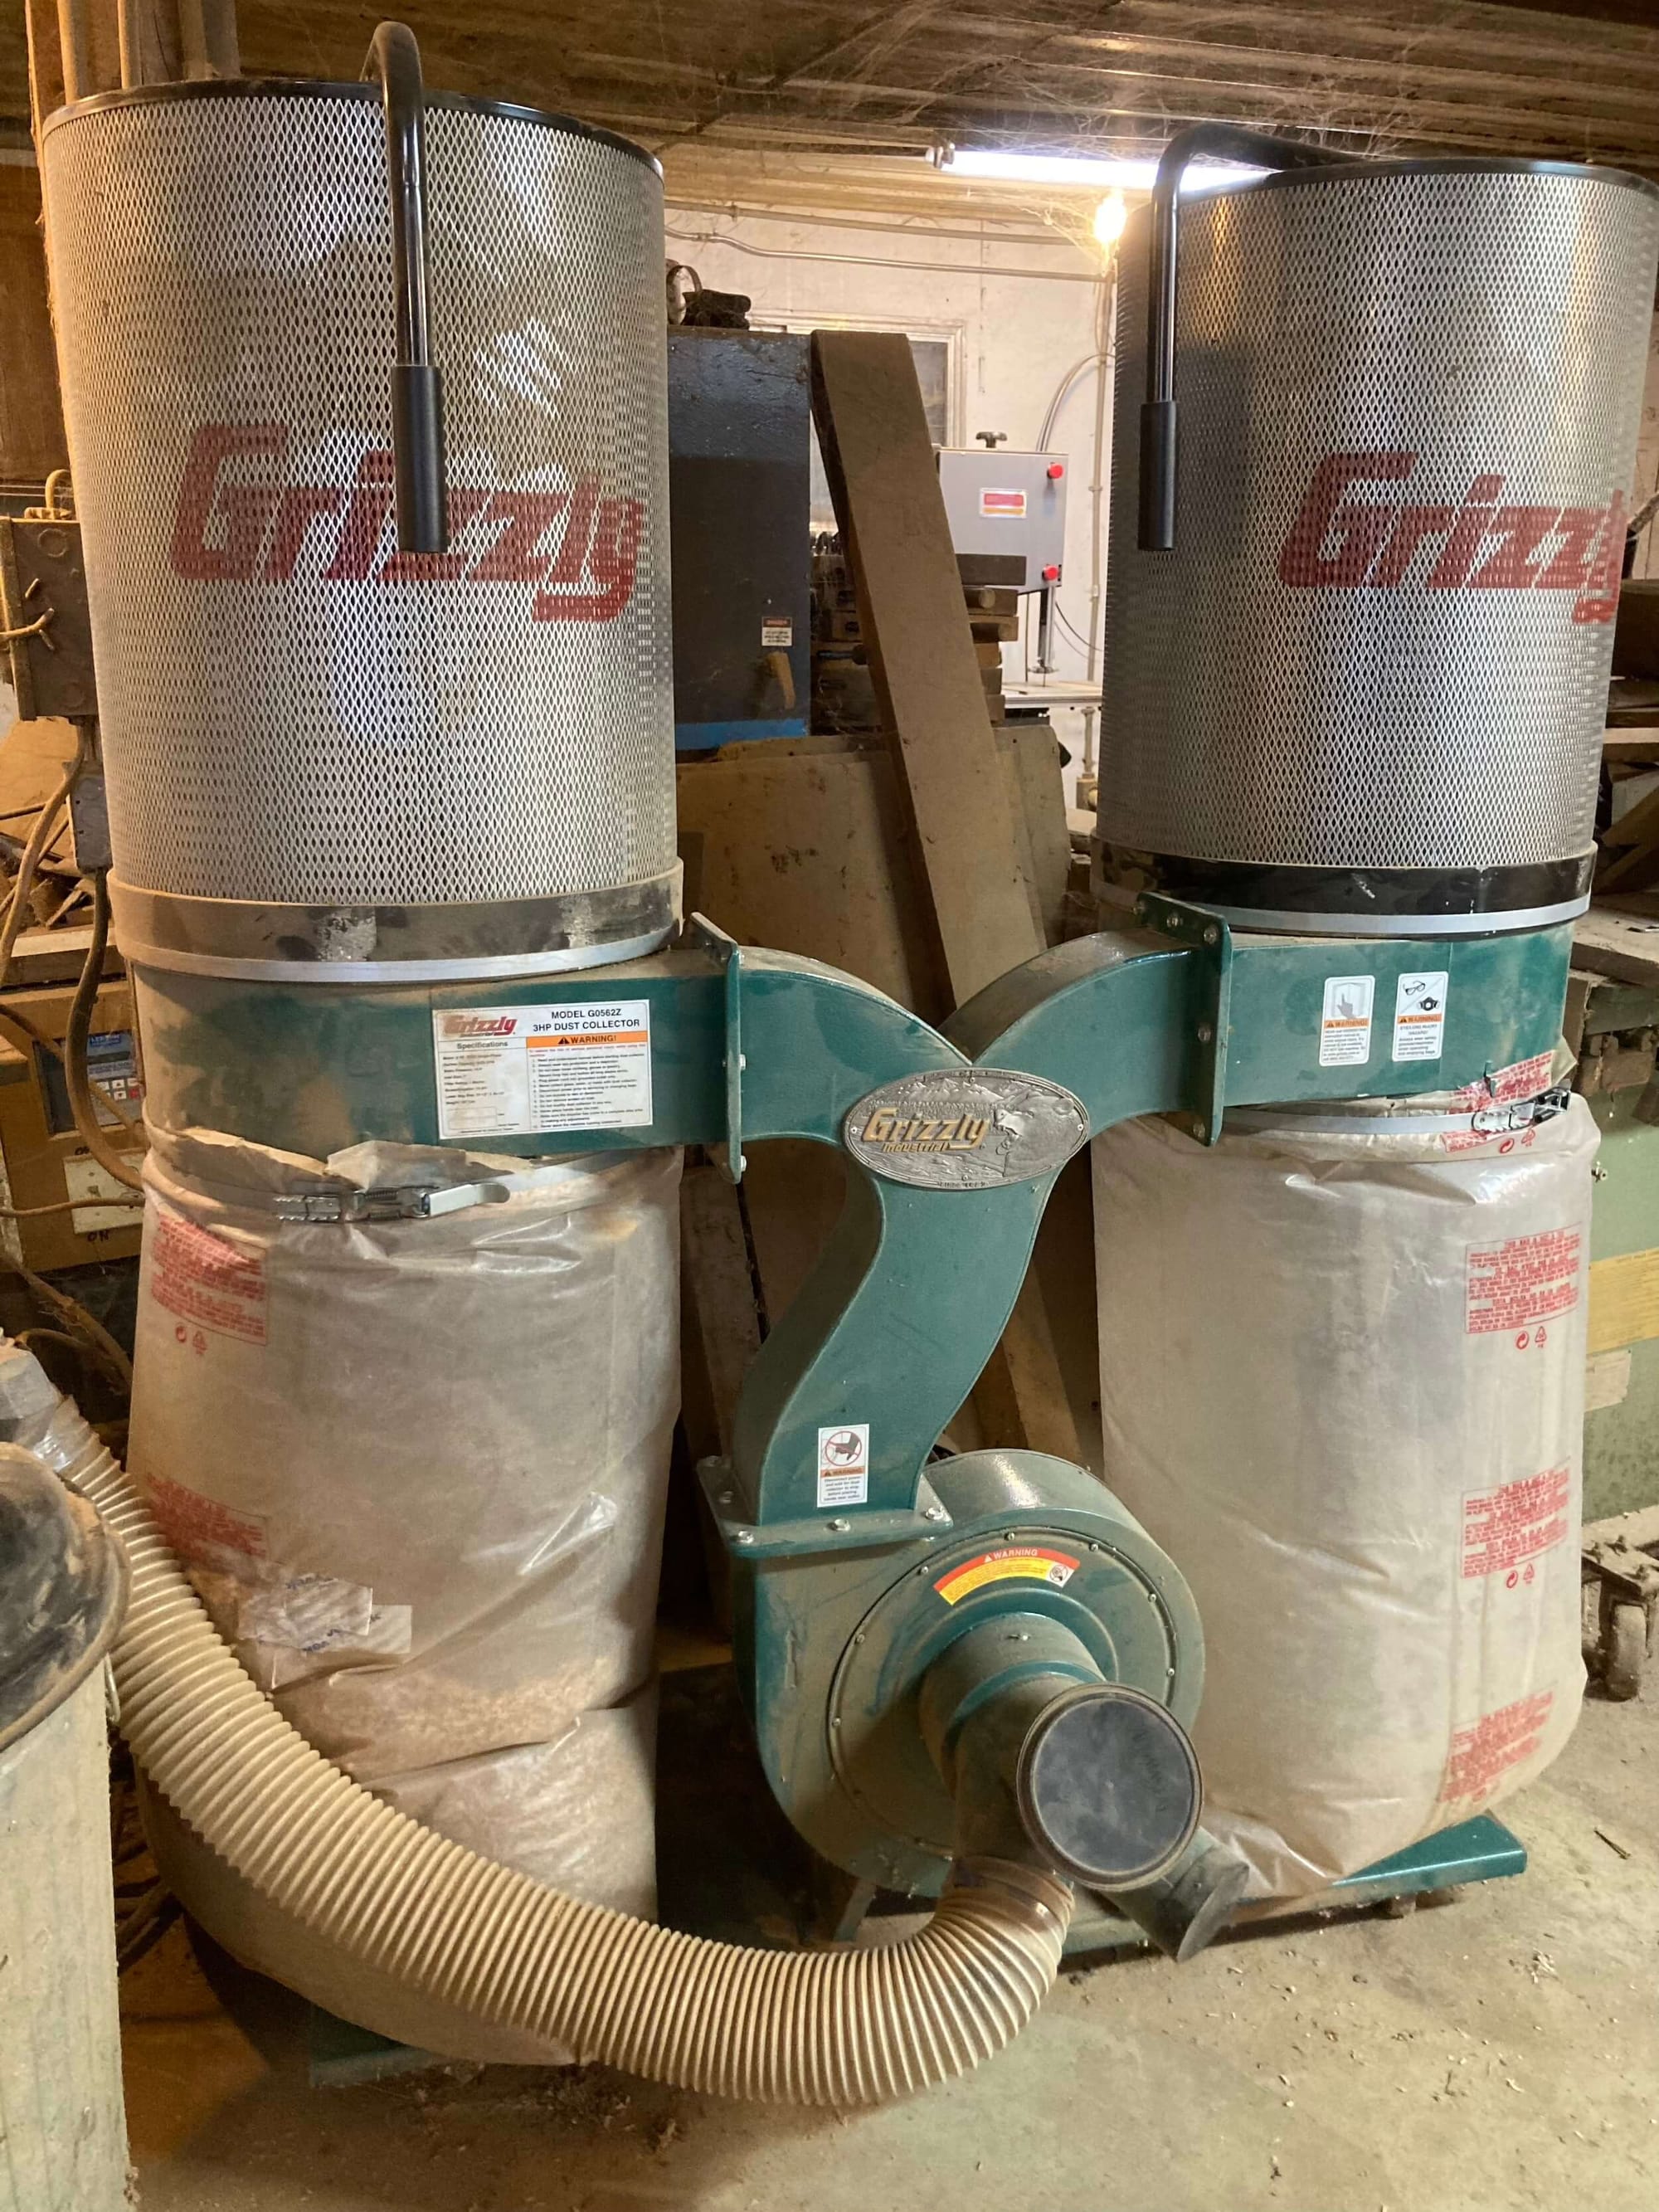
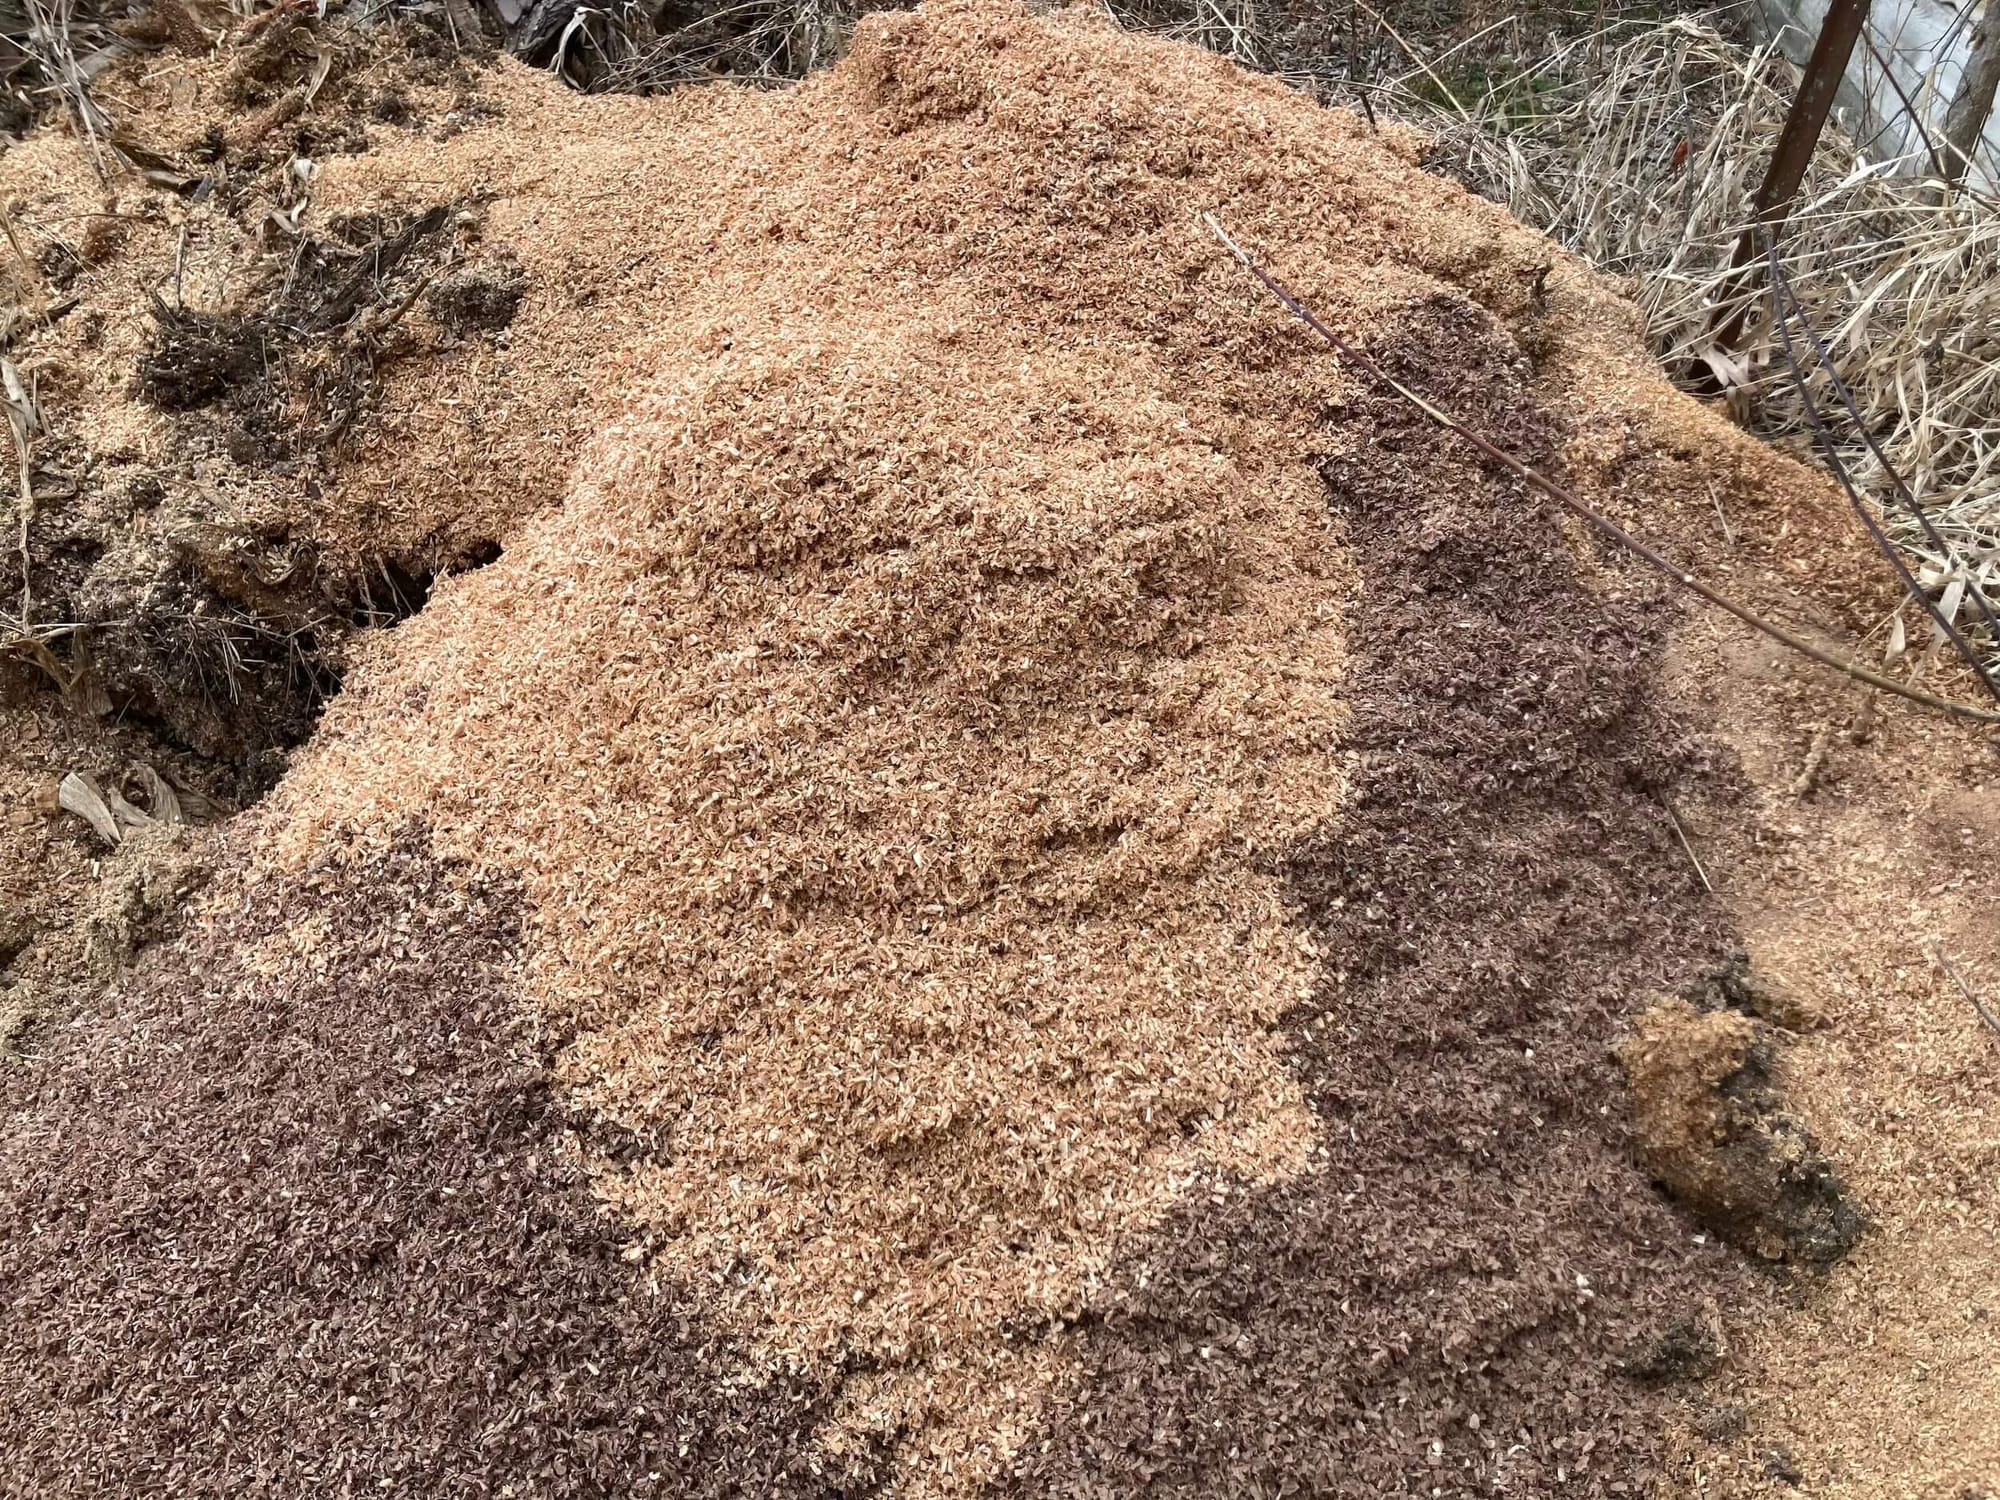
When we're planing this many boards at a time, it's common for us to fill these 50-gallon bags with sawdust several times. The dust goes out into a pile that is later used on the farm (garden beds and such, though a massive sawdust pile also become a burial ground for one of the cats who died).
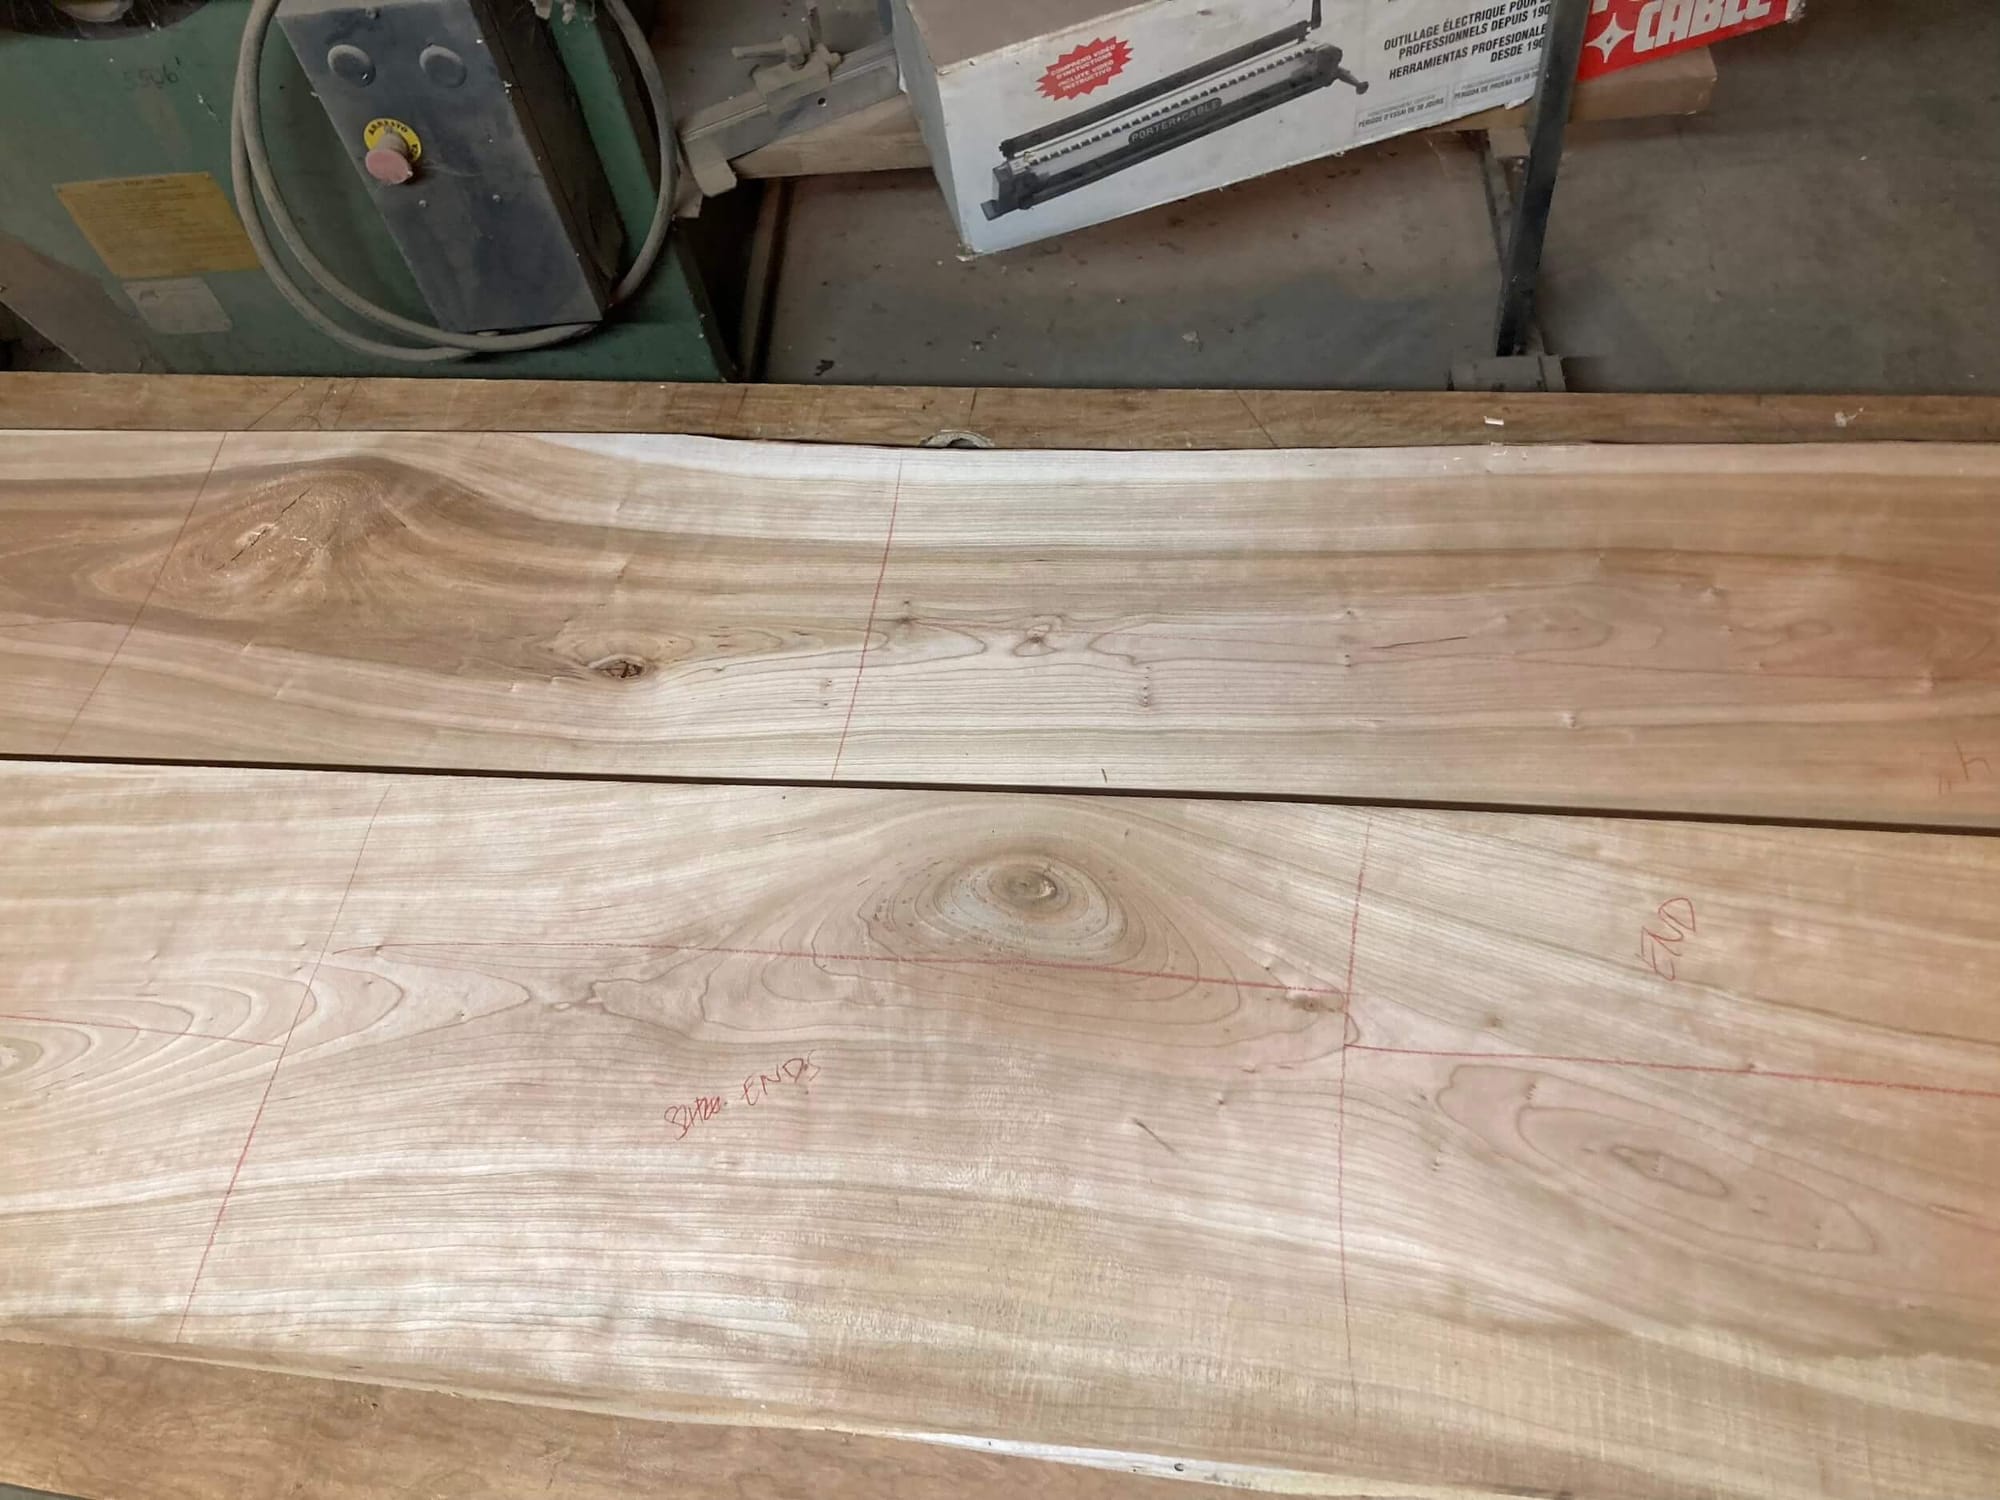
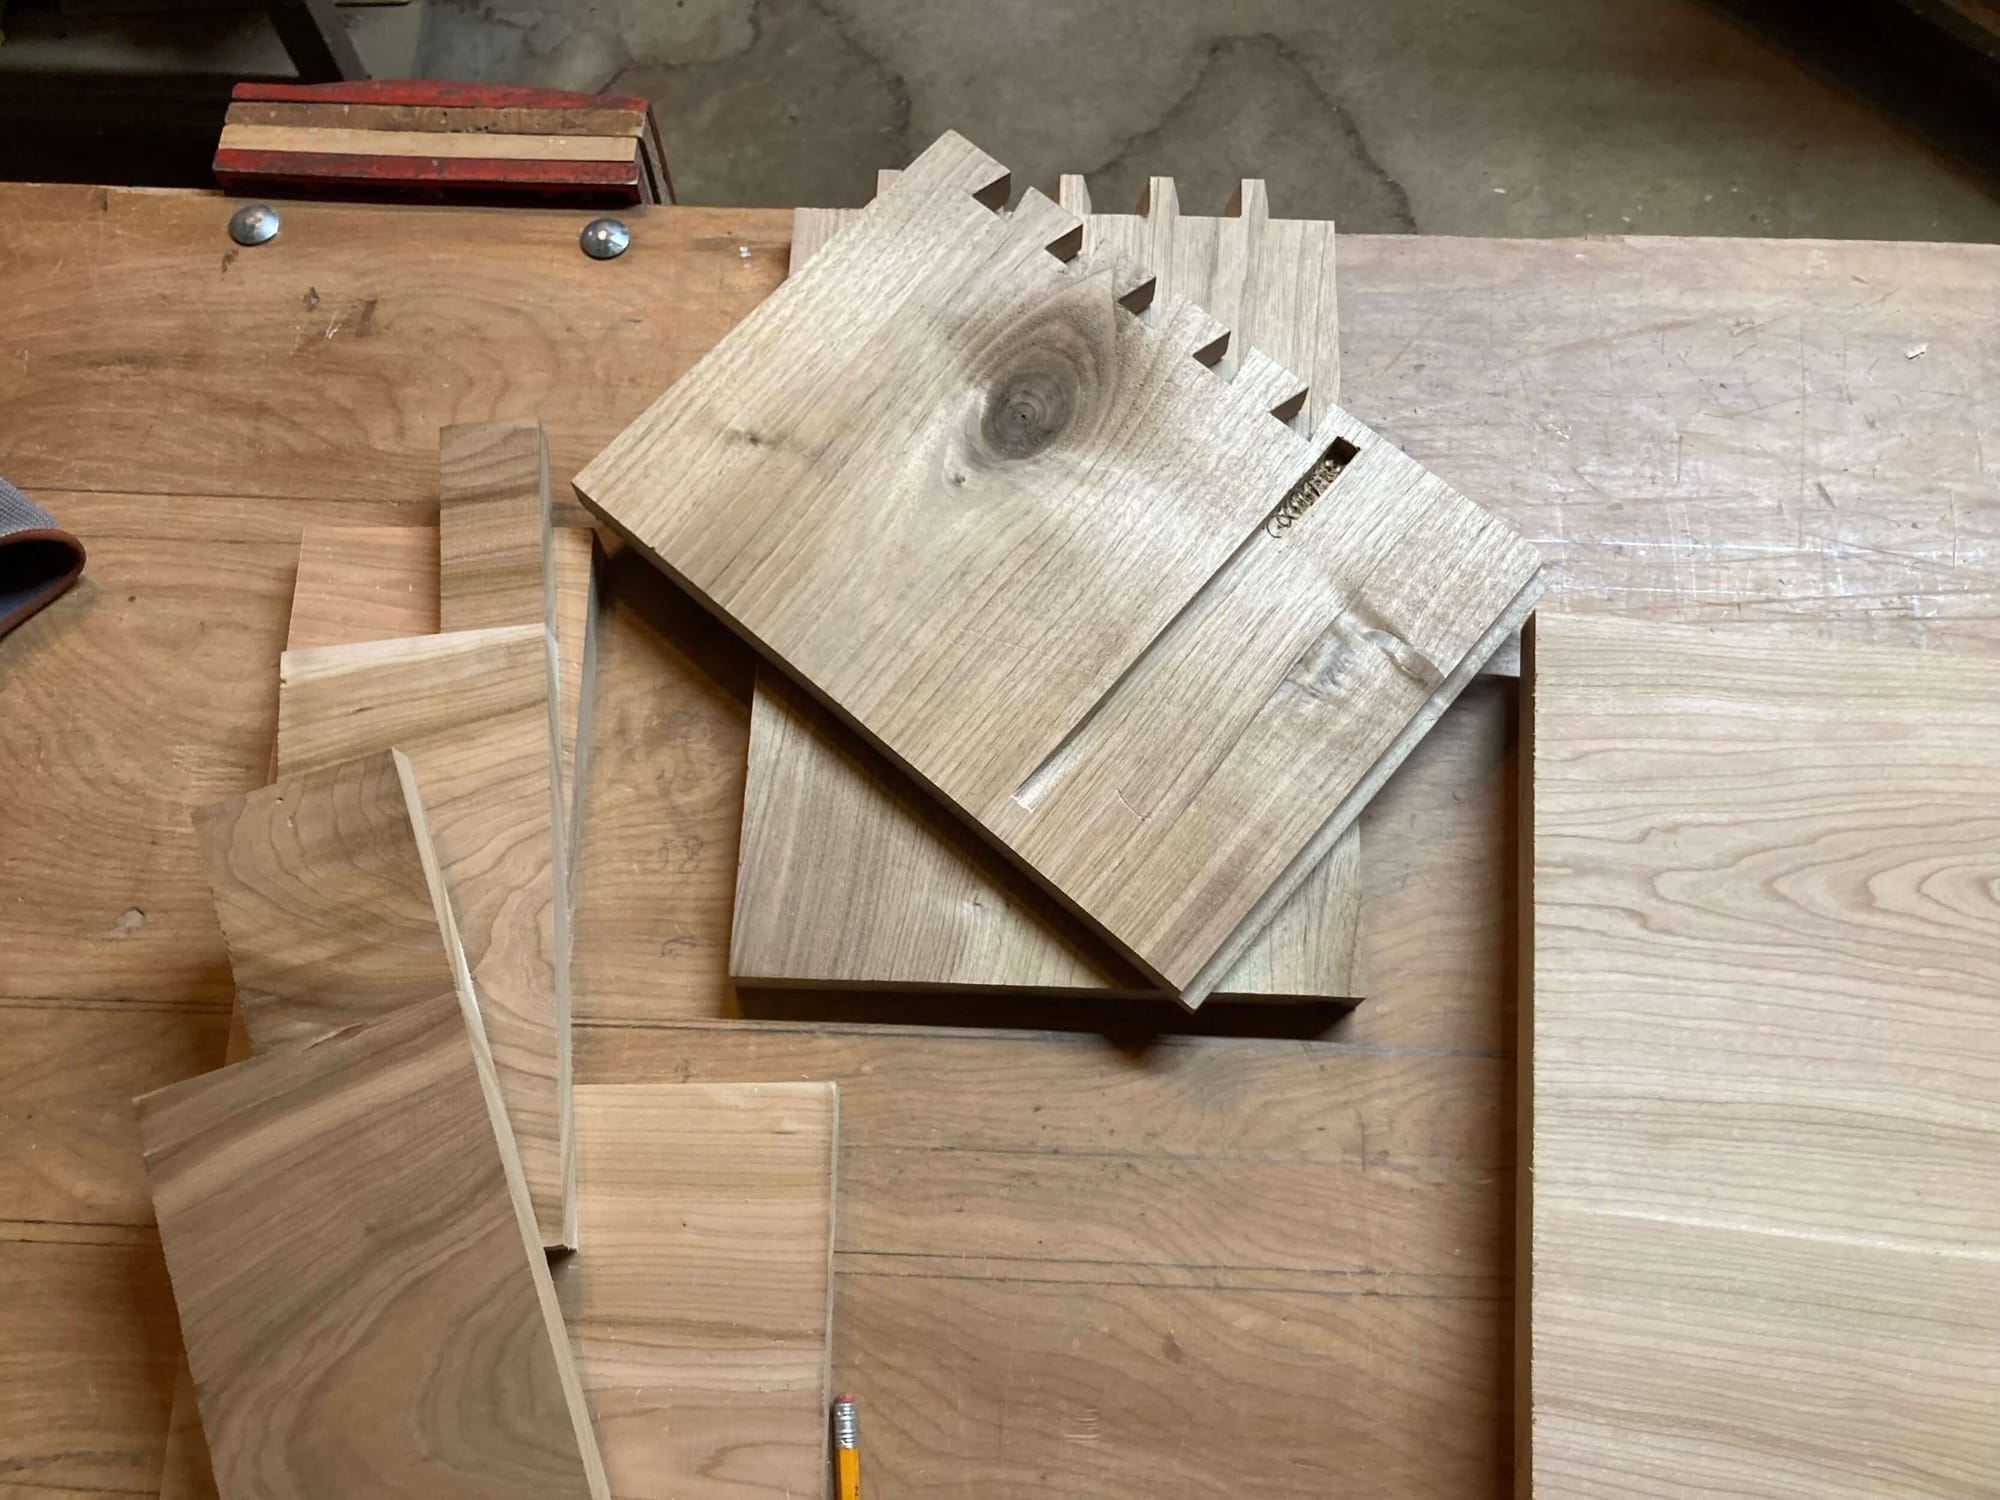
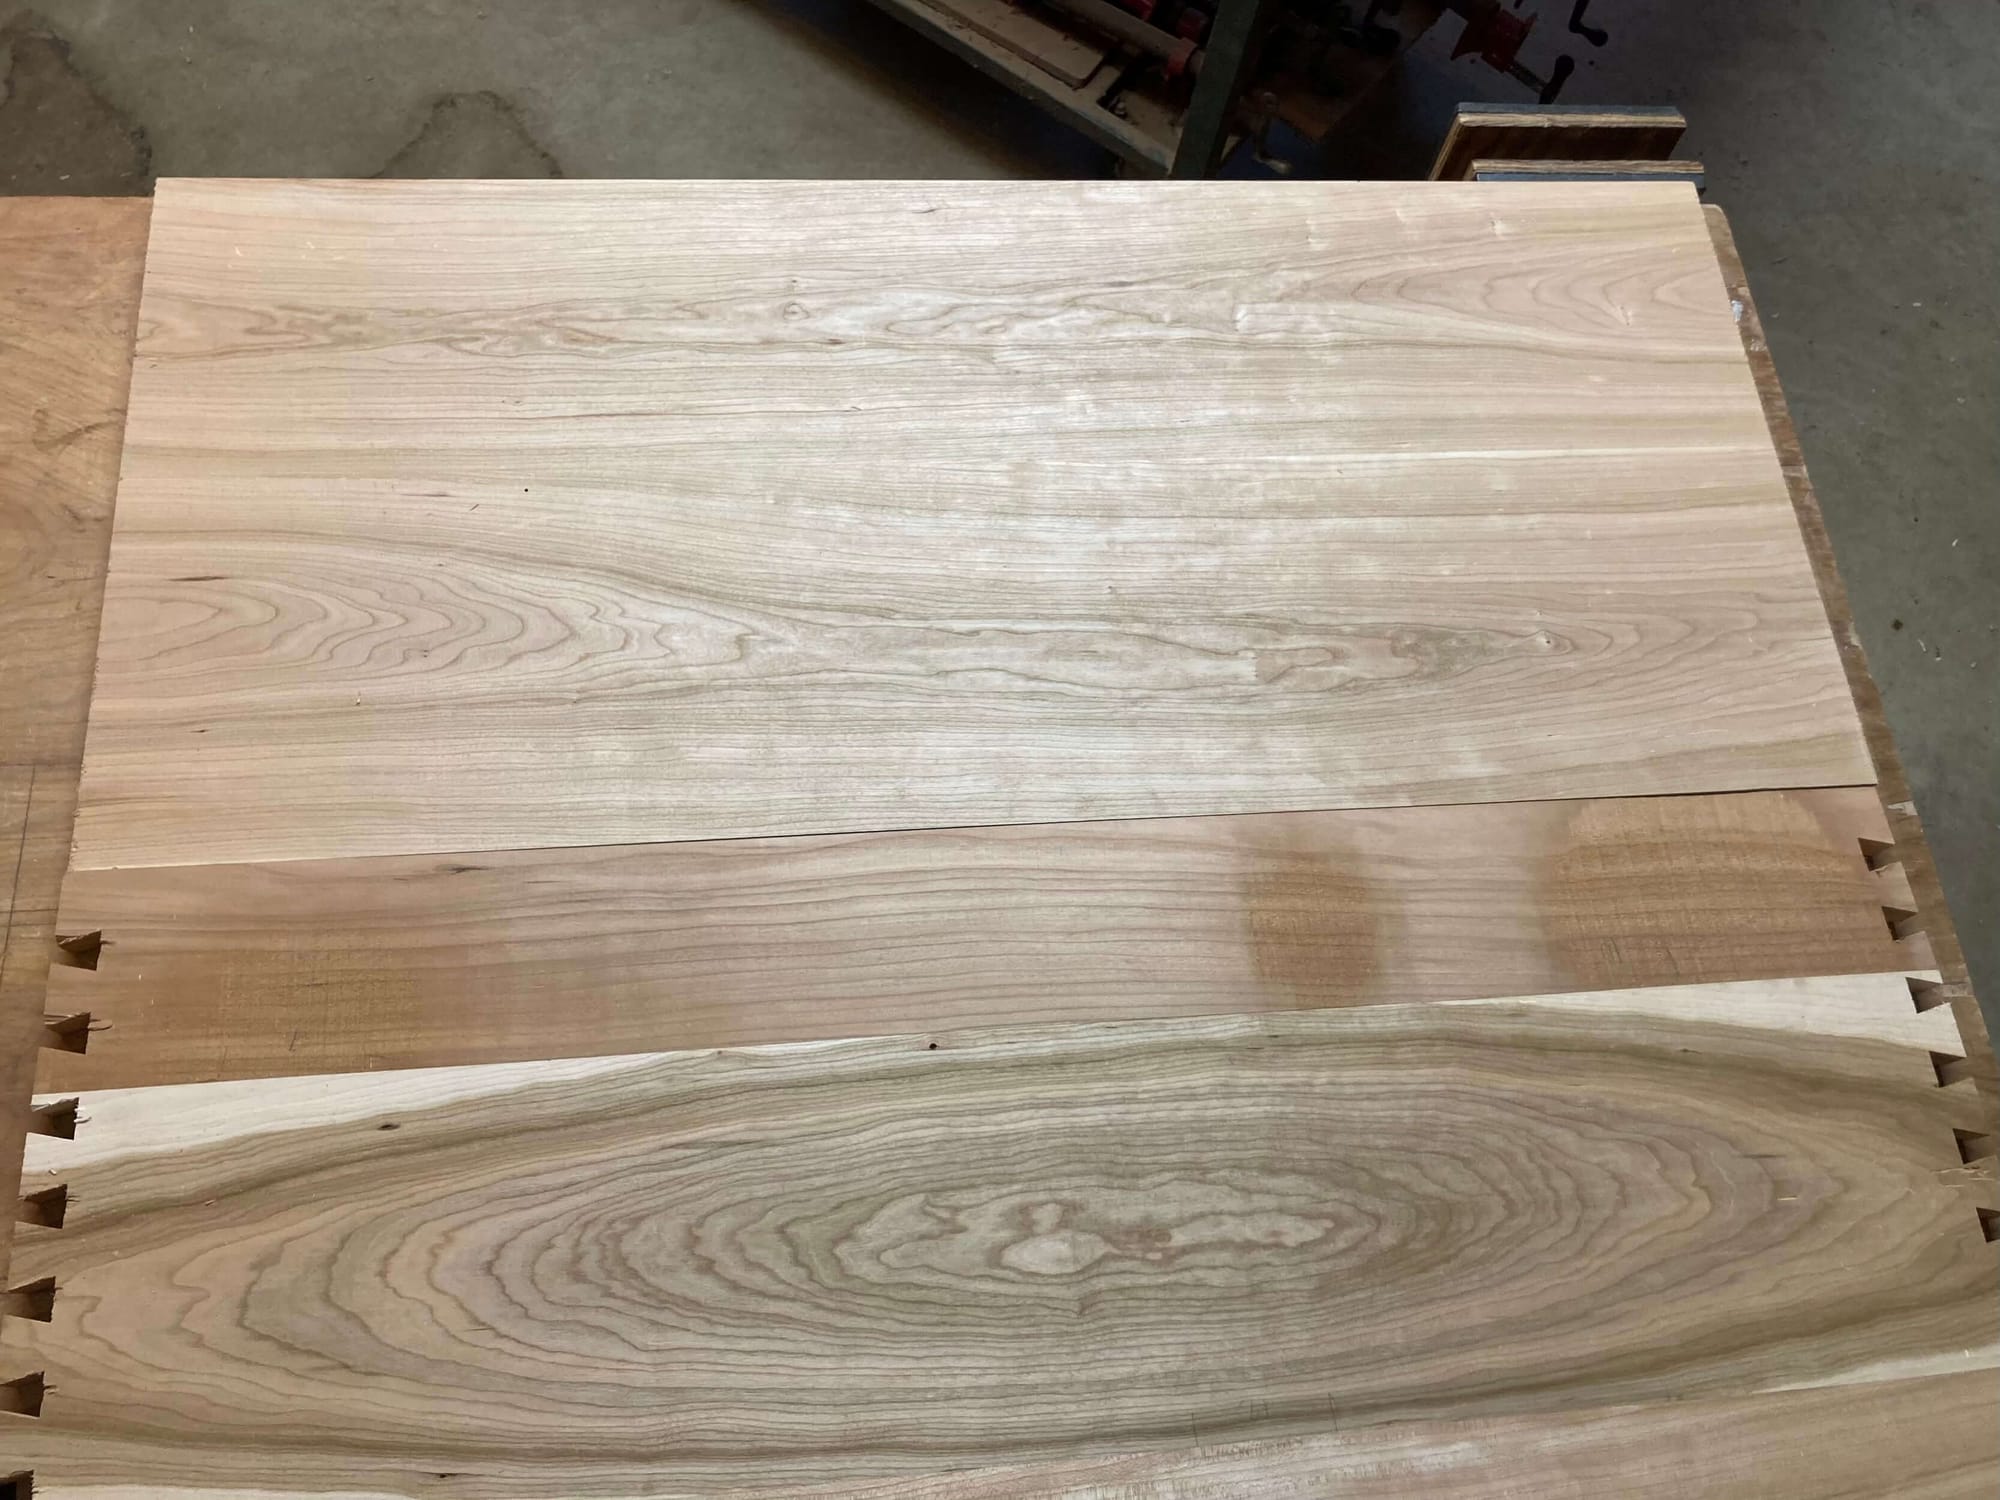
With the wood smooth, it's easier to see grain patters and imperfections. I start with the biggest pieces I'll need and work my way down to the smallest, marking the boards up as I go.
Not sure the red wax marks show up too well on the photo below, but I draw all over the boards to note what I'm hoping to use them for—sides, fronts, etc. And then they get cut roughly to length and sorted once more into piles. Thank god for 8-foot-long tables.
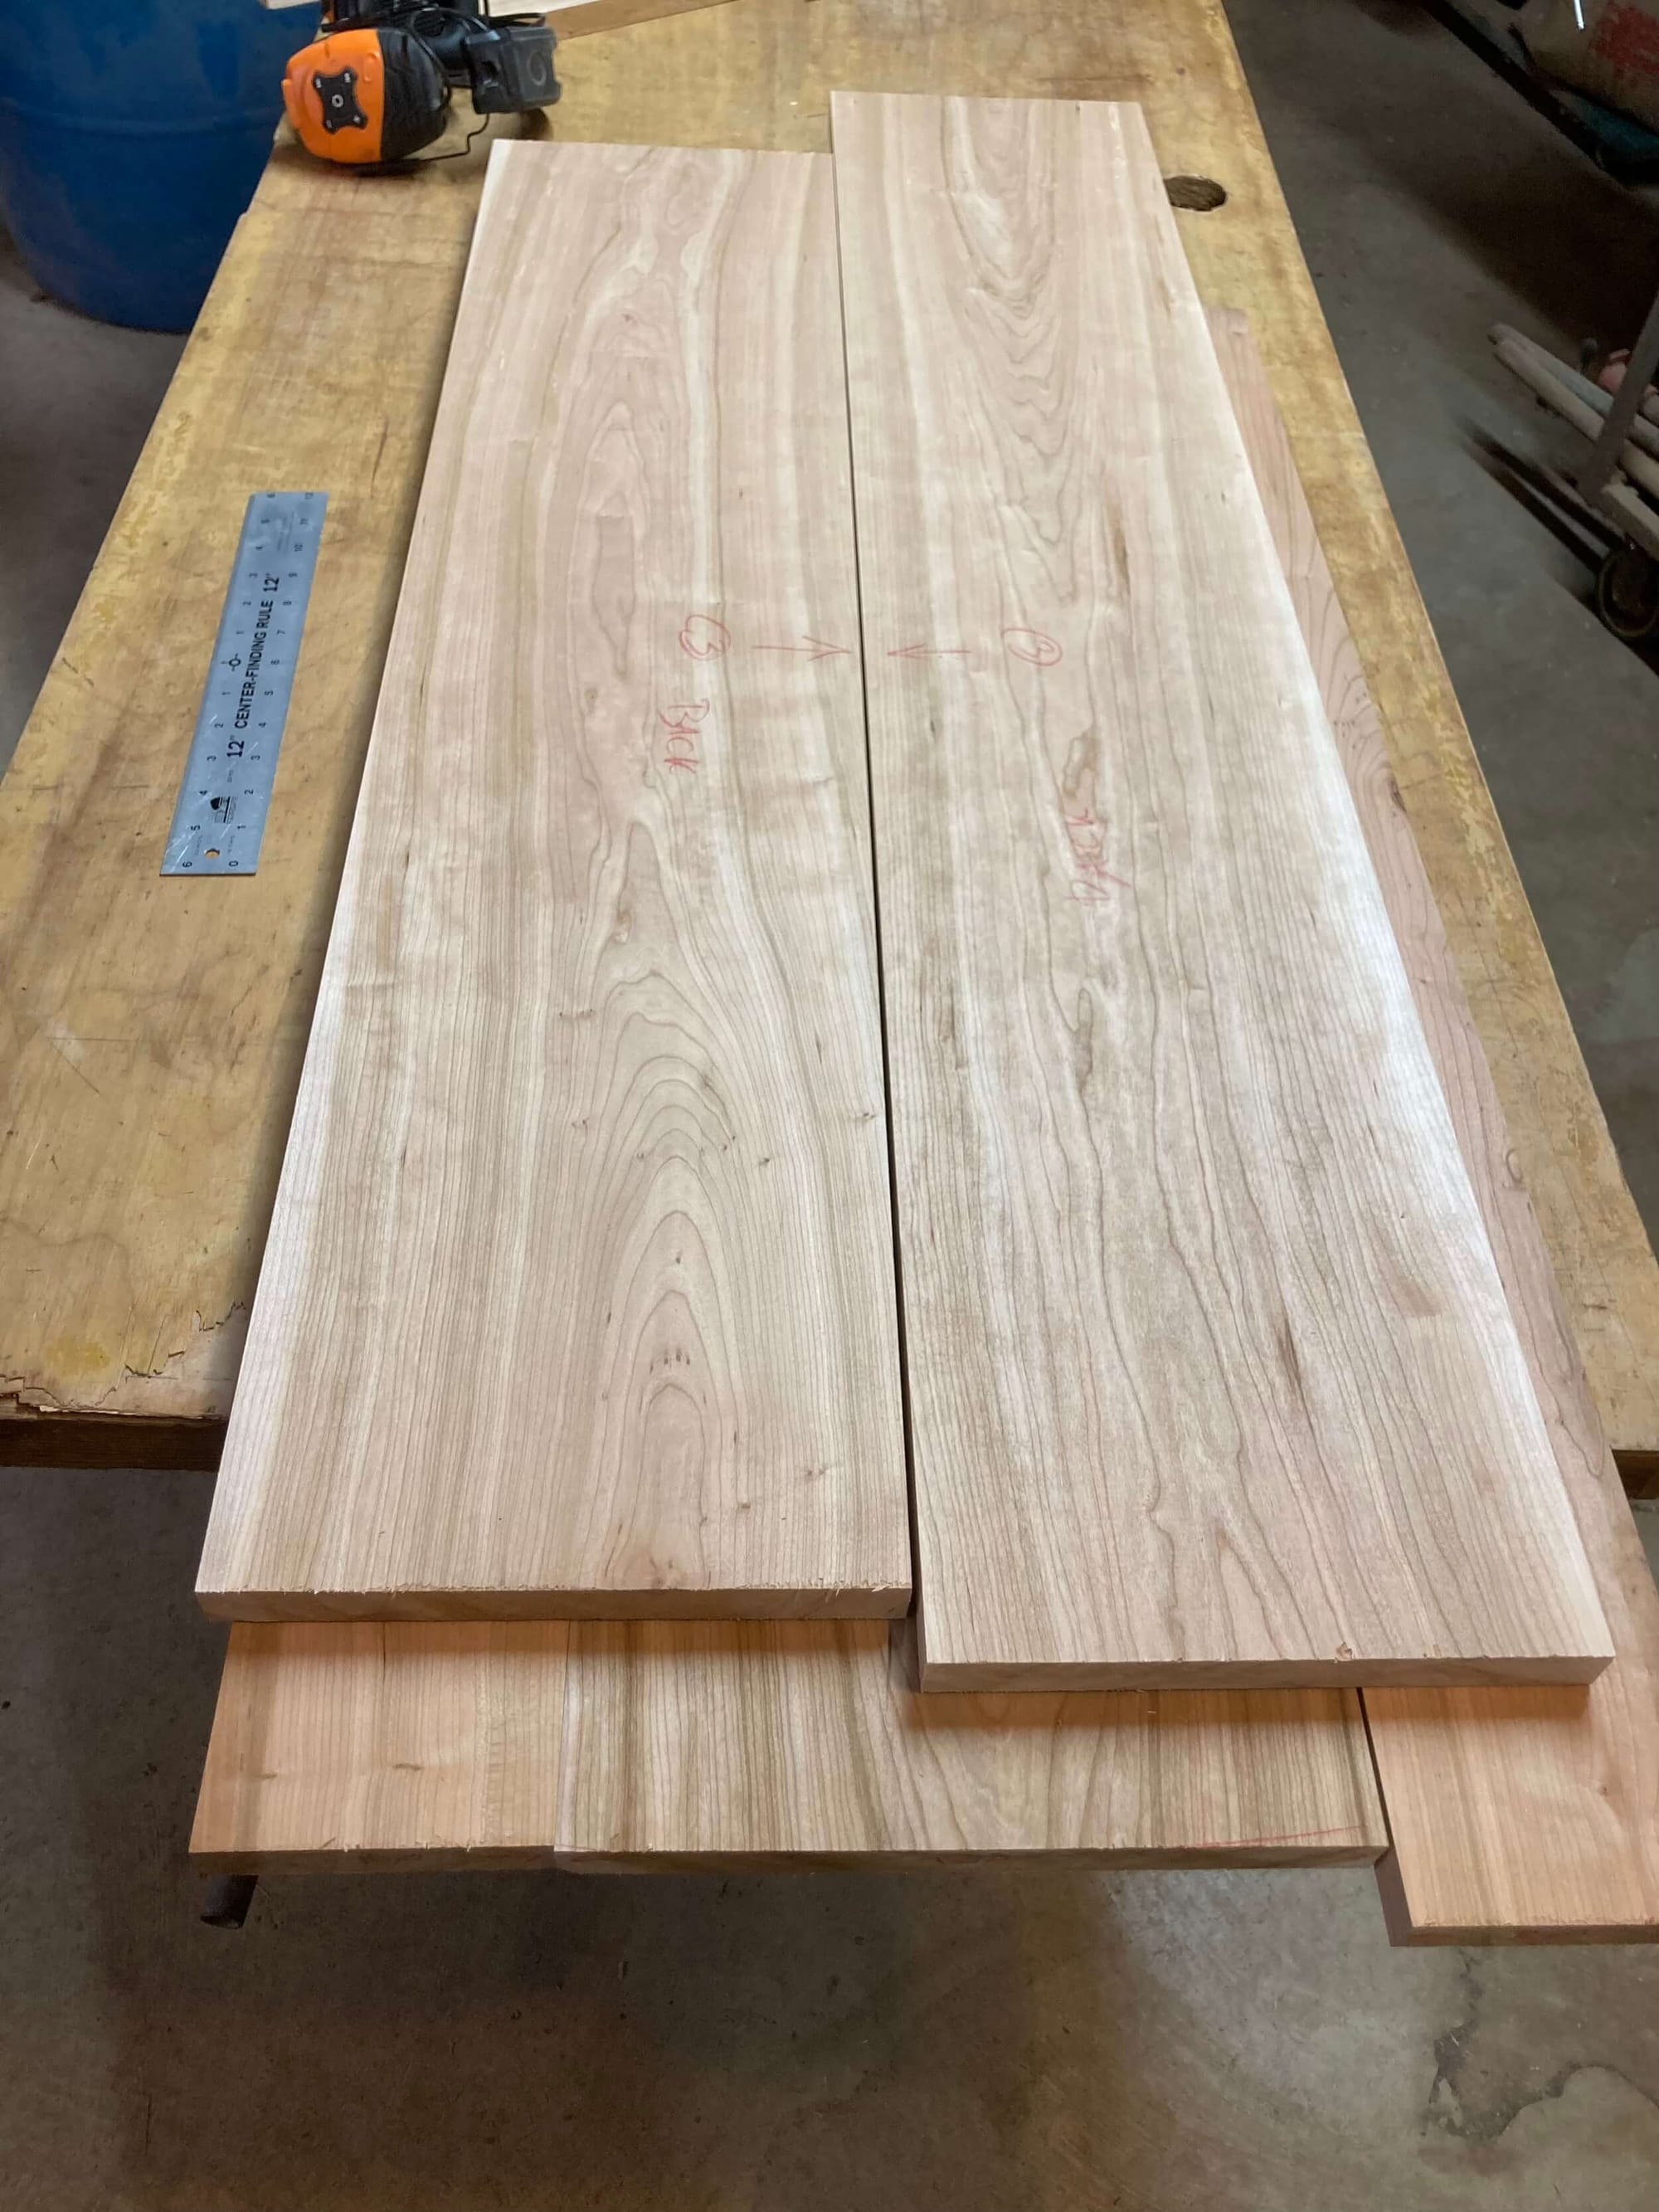
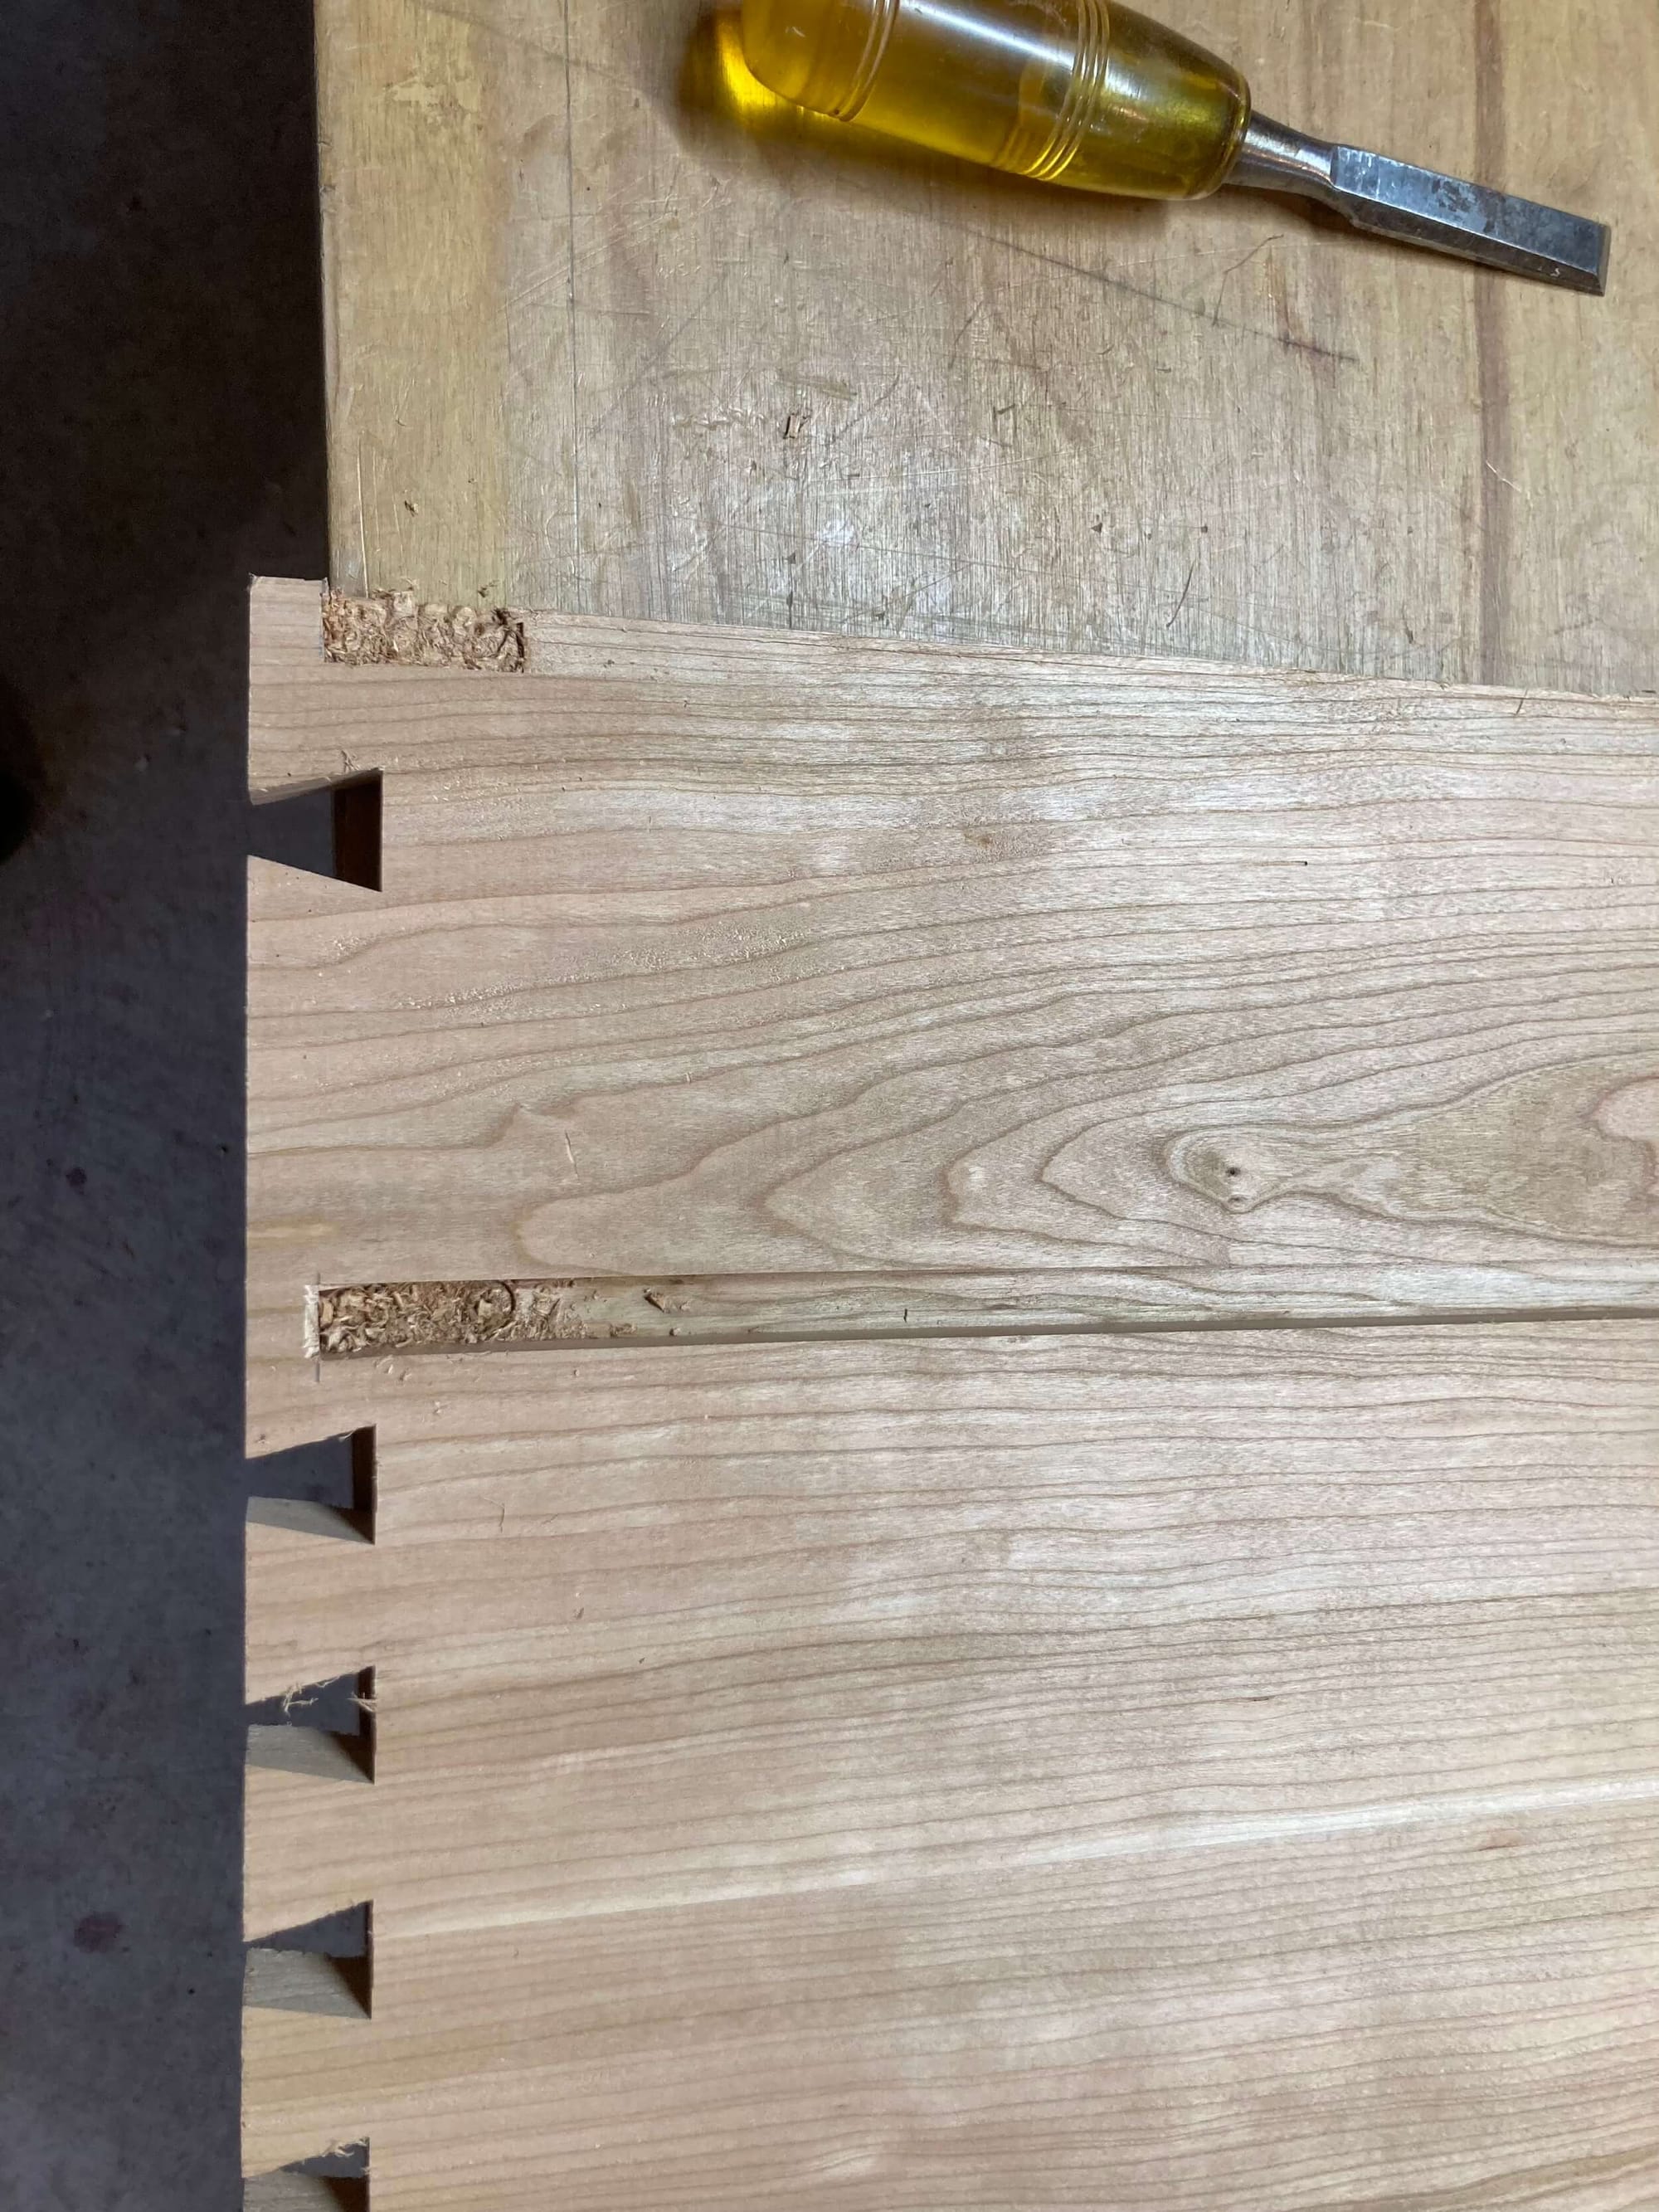
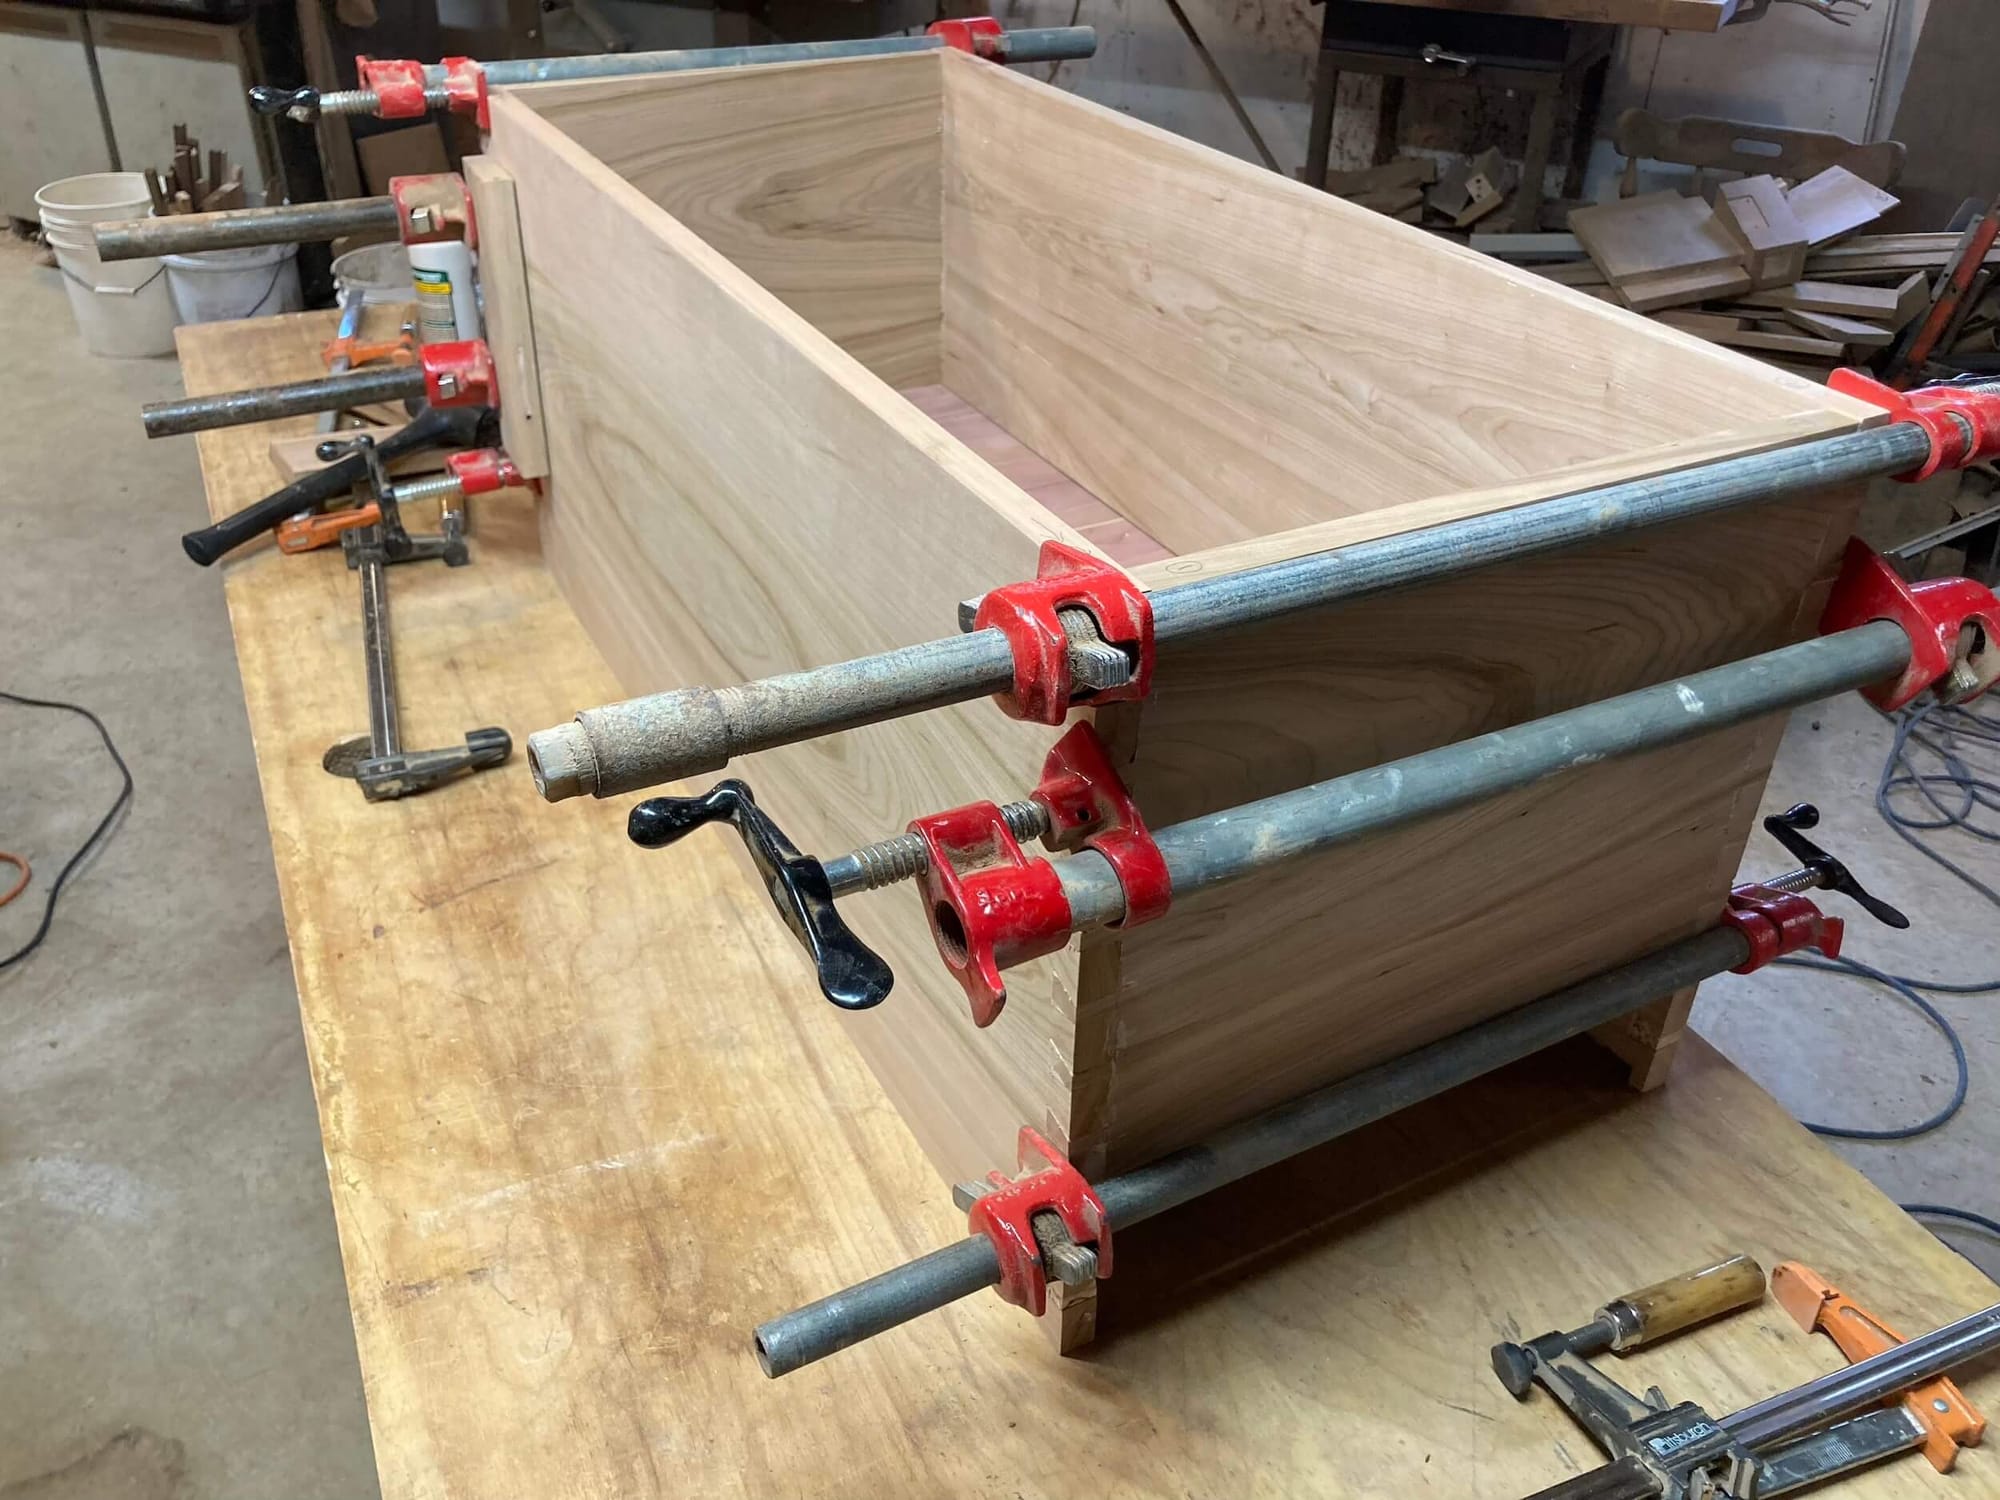
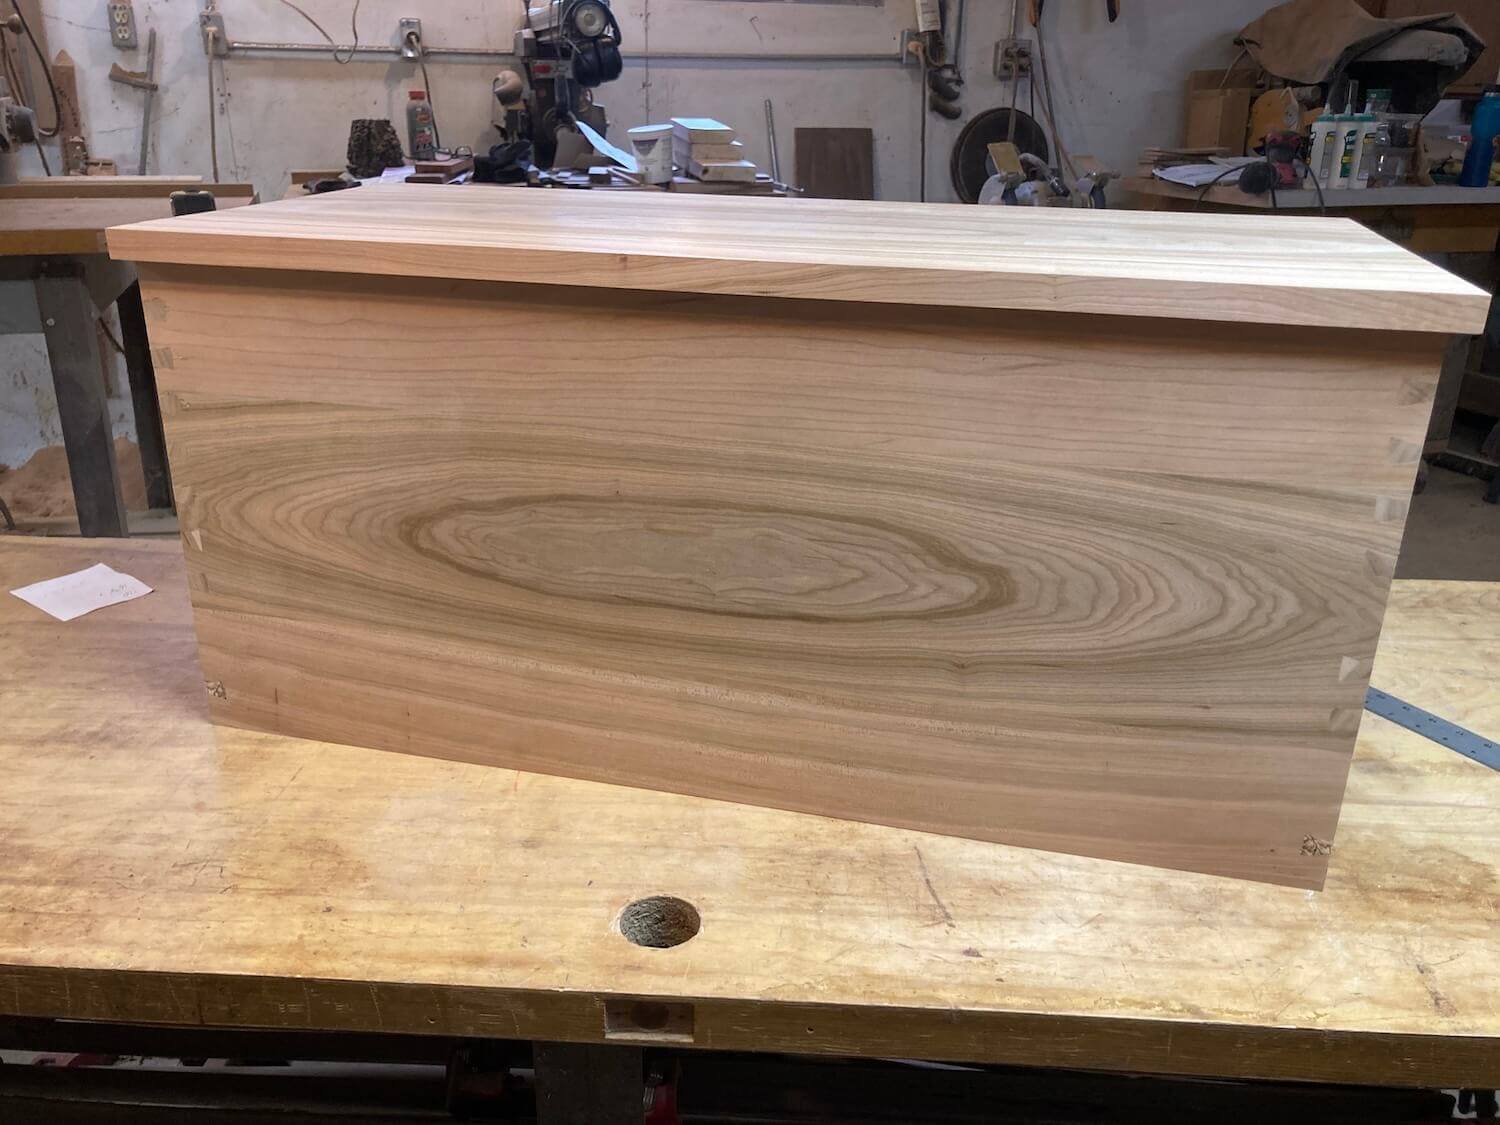
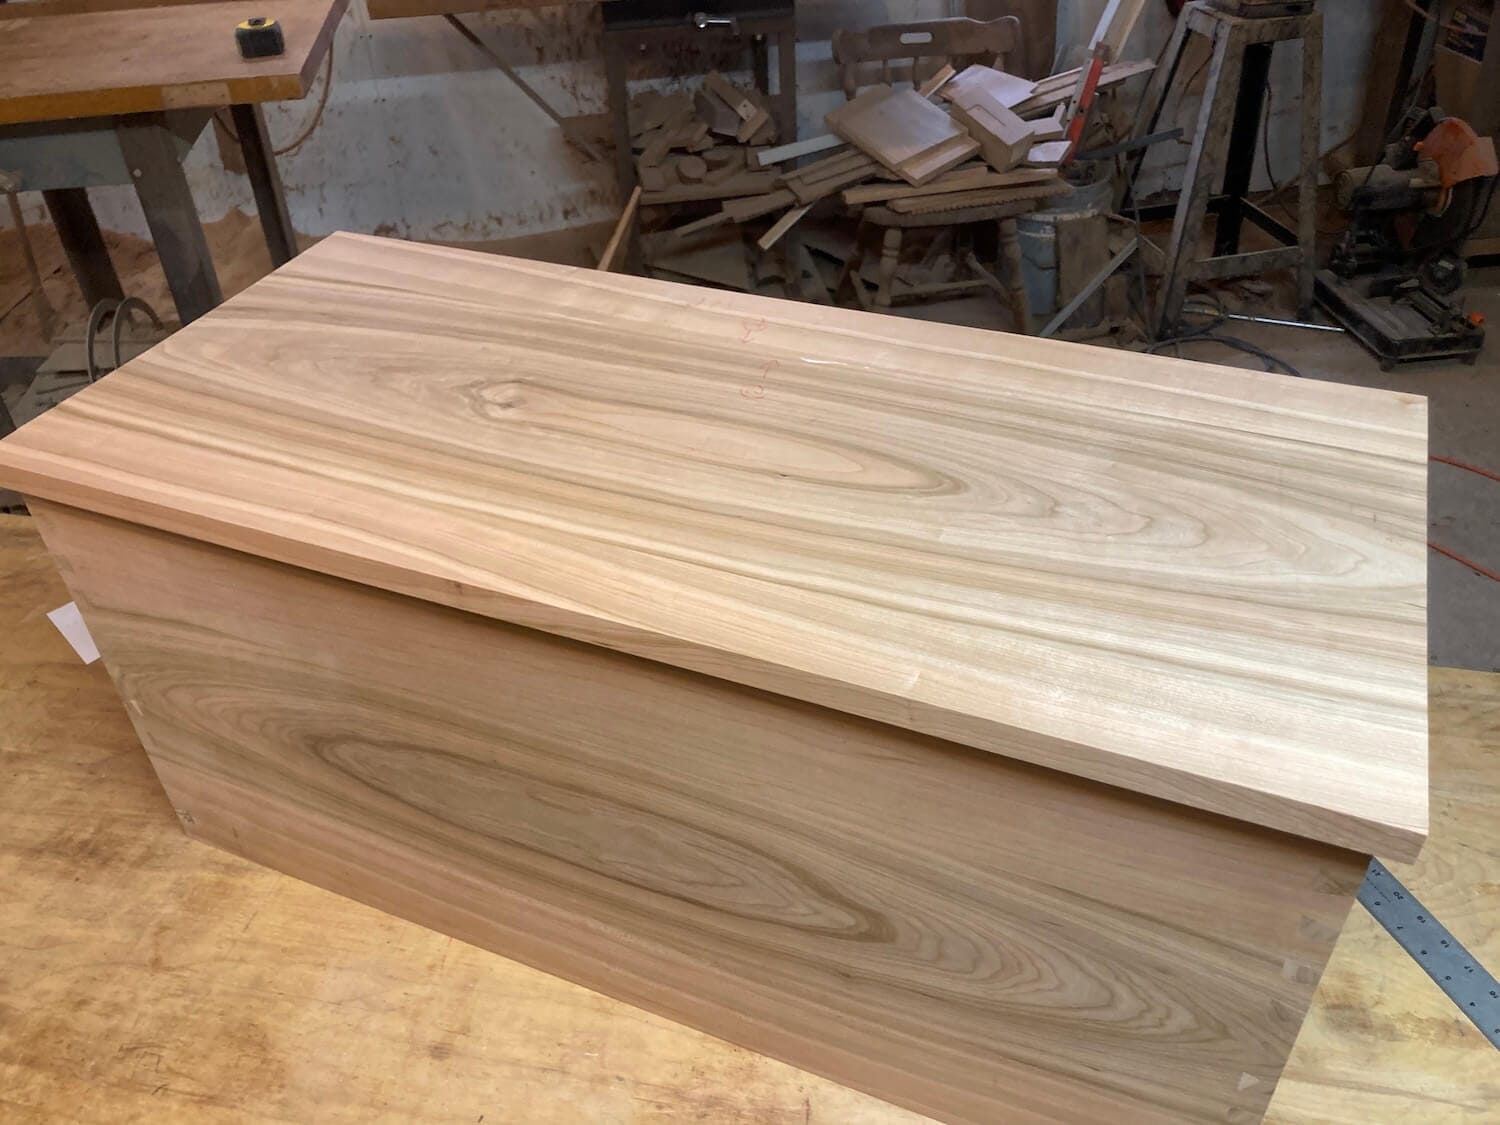
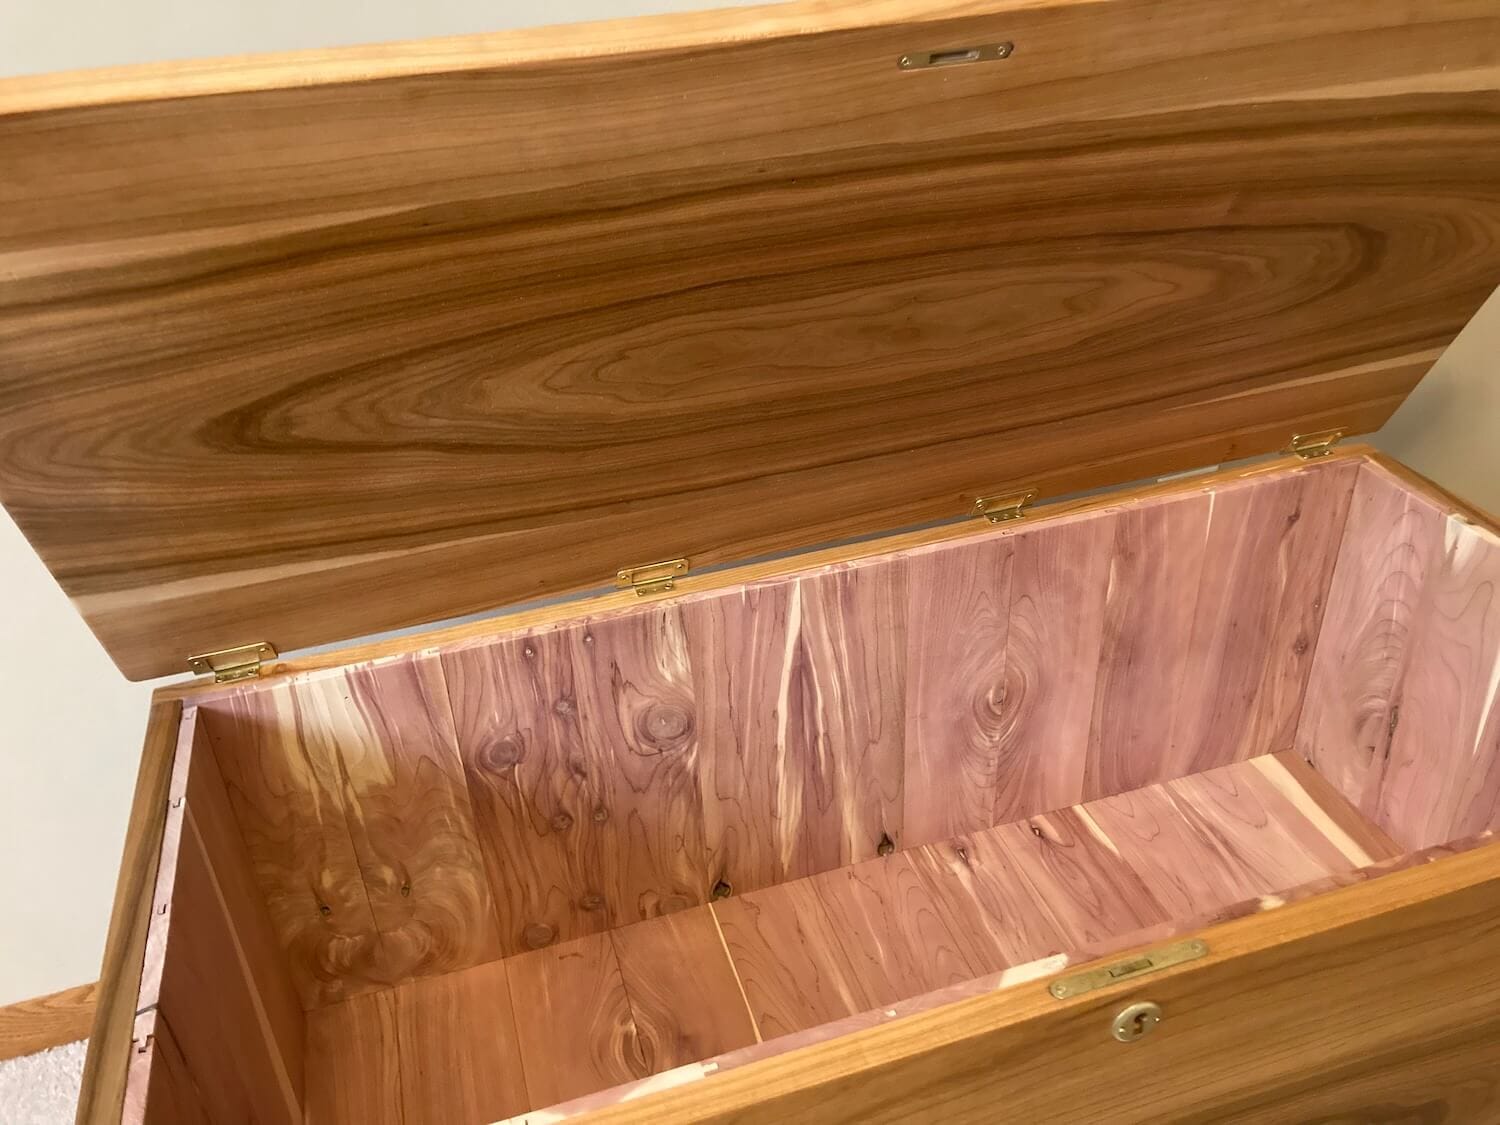
My design called for dovetailed corners, so we focused on gluing up the front, back, sides, and lid, then cutting the dovetails and assembling the box. My dovetails don't go all the way to the bottom of the box because there are two small drawers on either side of the chest, so I needed openings on the sides.
Ah, dovetails. I can't for the life of me keep remember which one is the pin and which one is the tail. There are some thoughts my neurons simply won't allow.
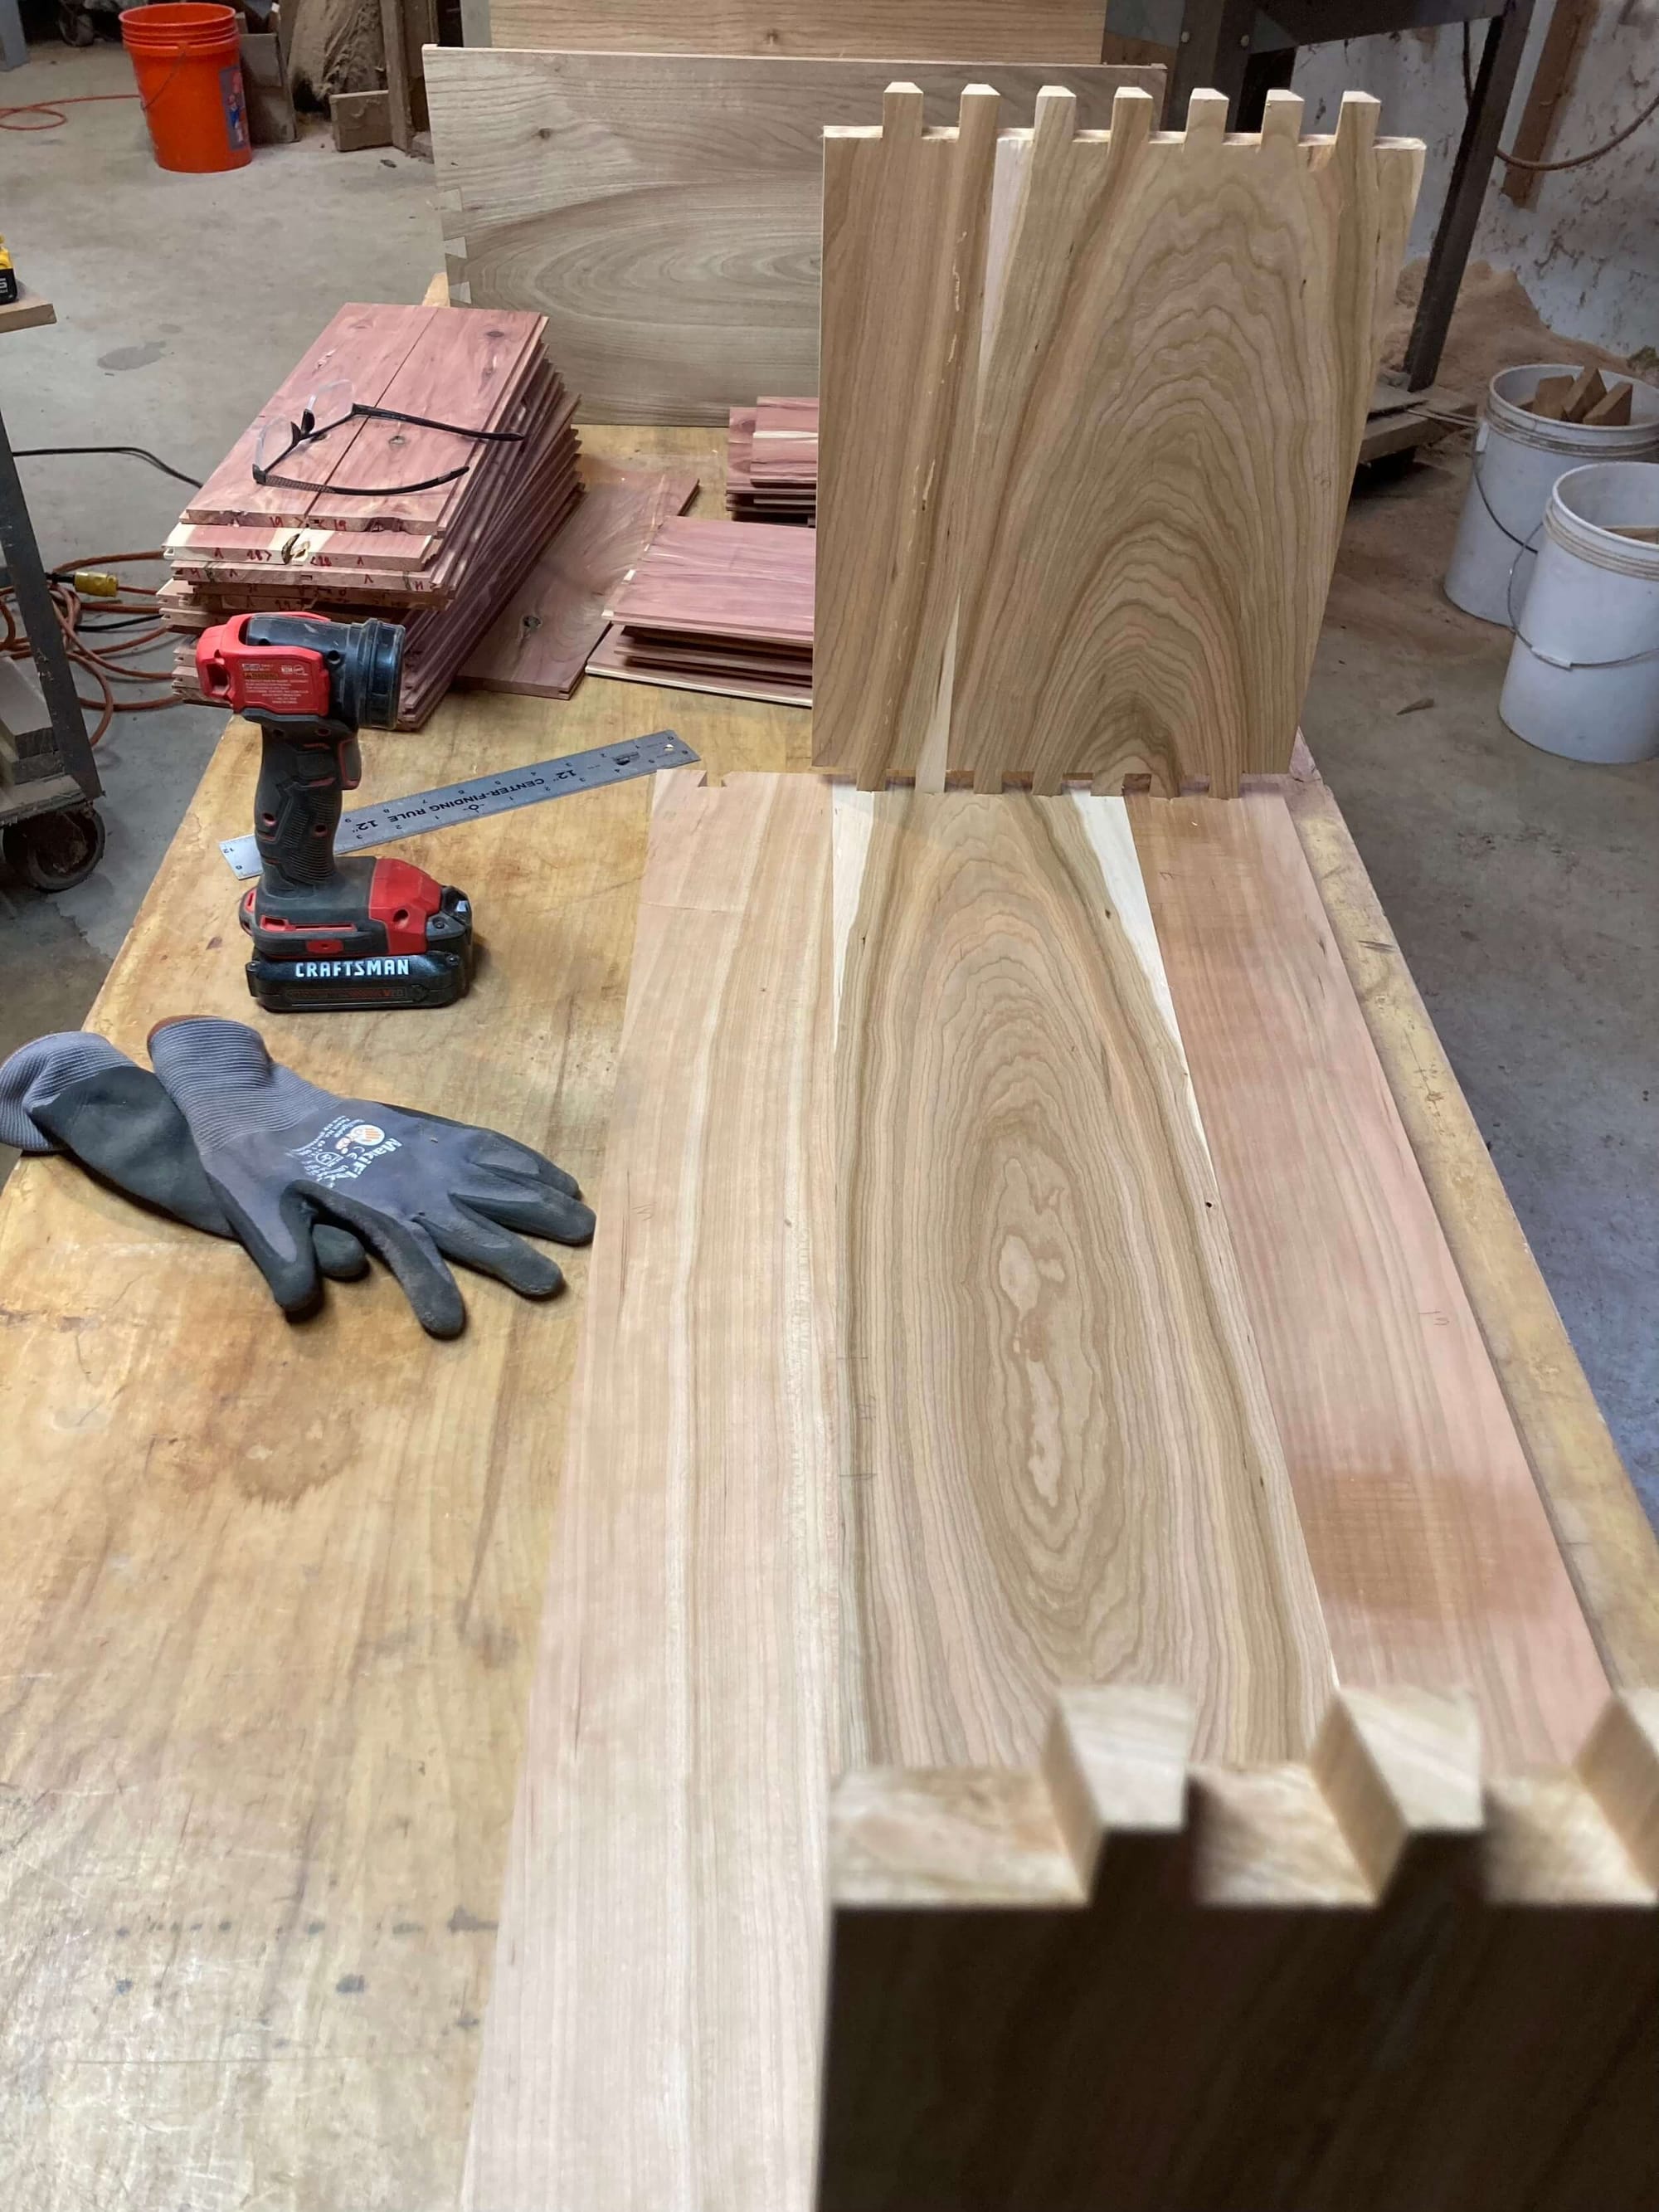
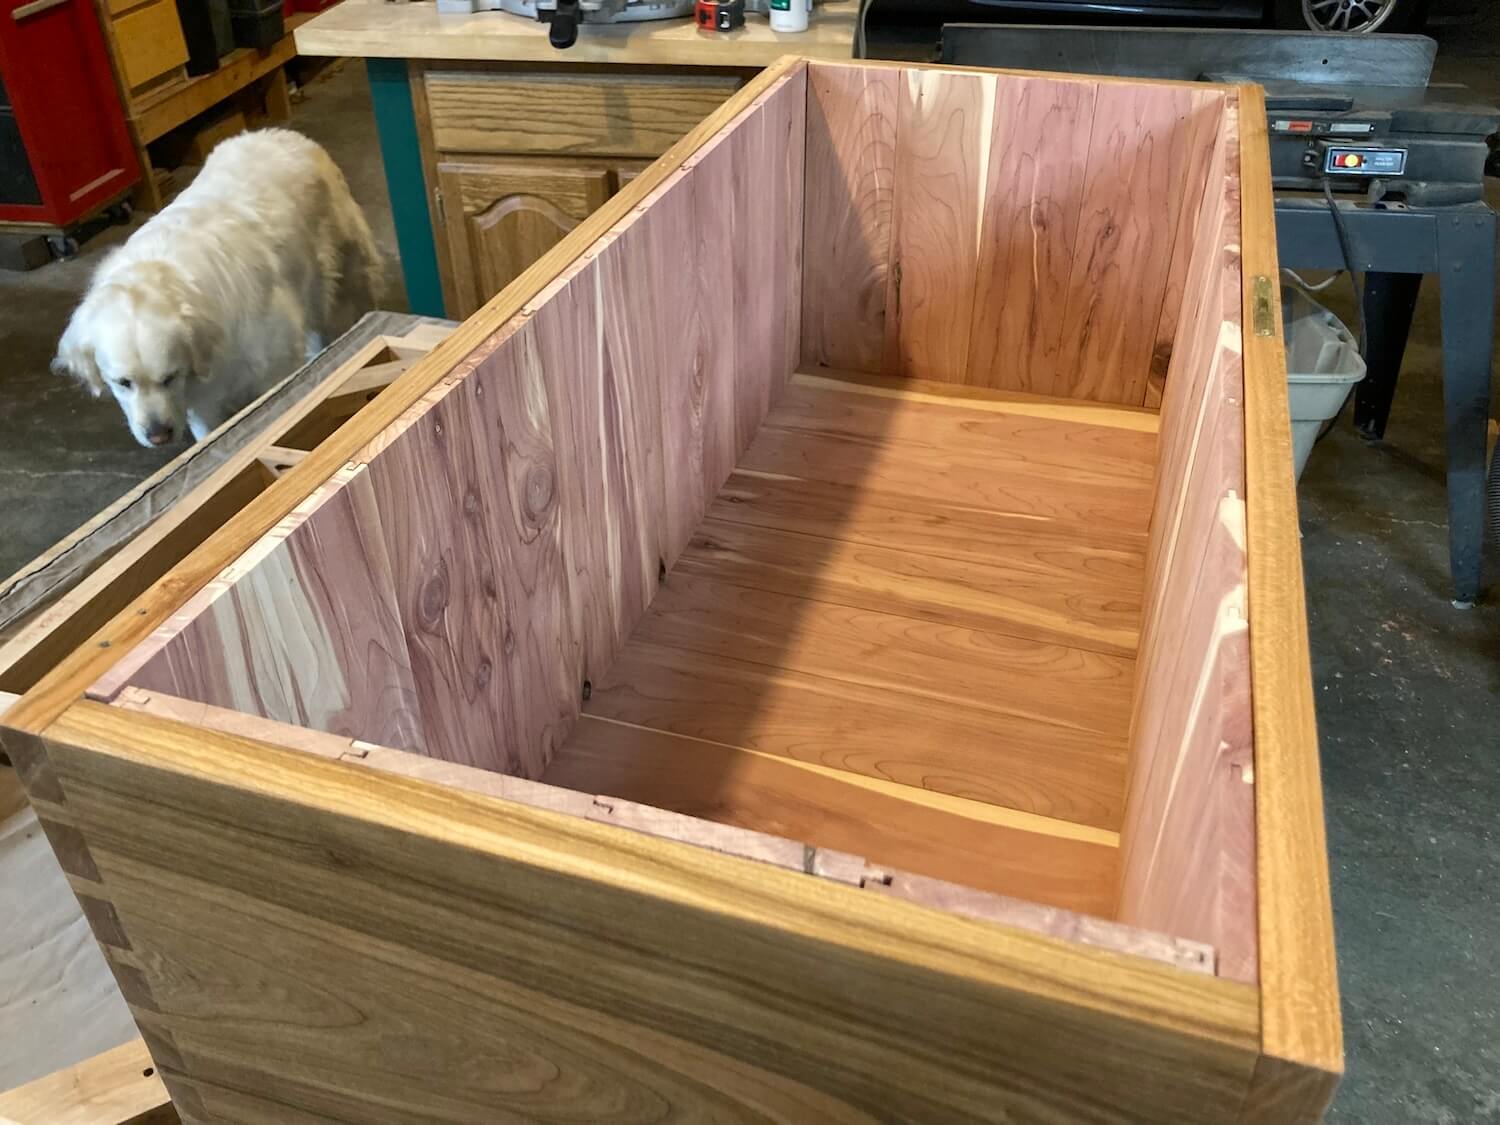
We lined the inside of the big compartment with Red Cedar that we'd resawn and planed to 3/8" thick. Each of the pieces has a tongue and groove so that they can snap together. If nothing else, at the very least my friend's daughter is going to have a box that smells amazing.
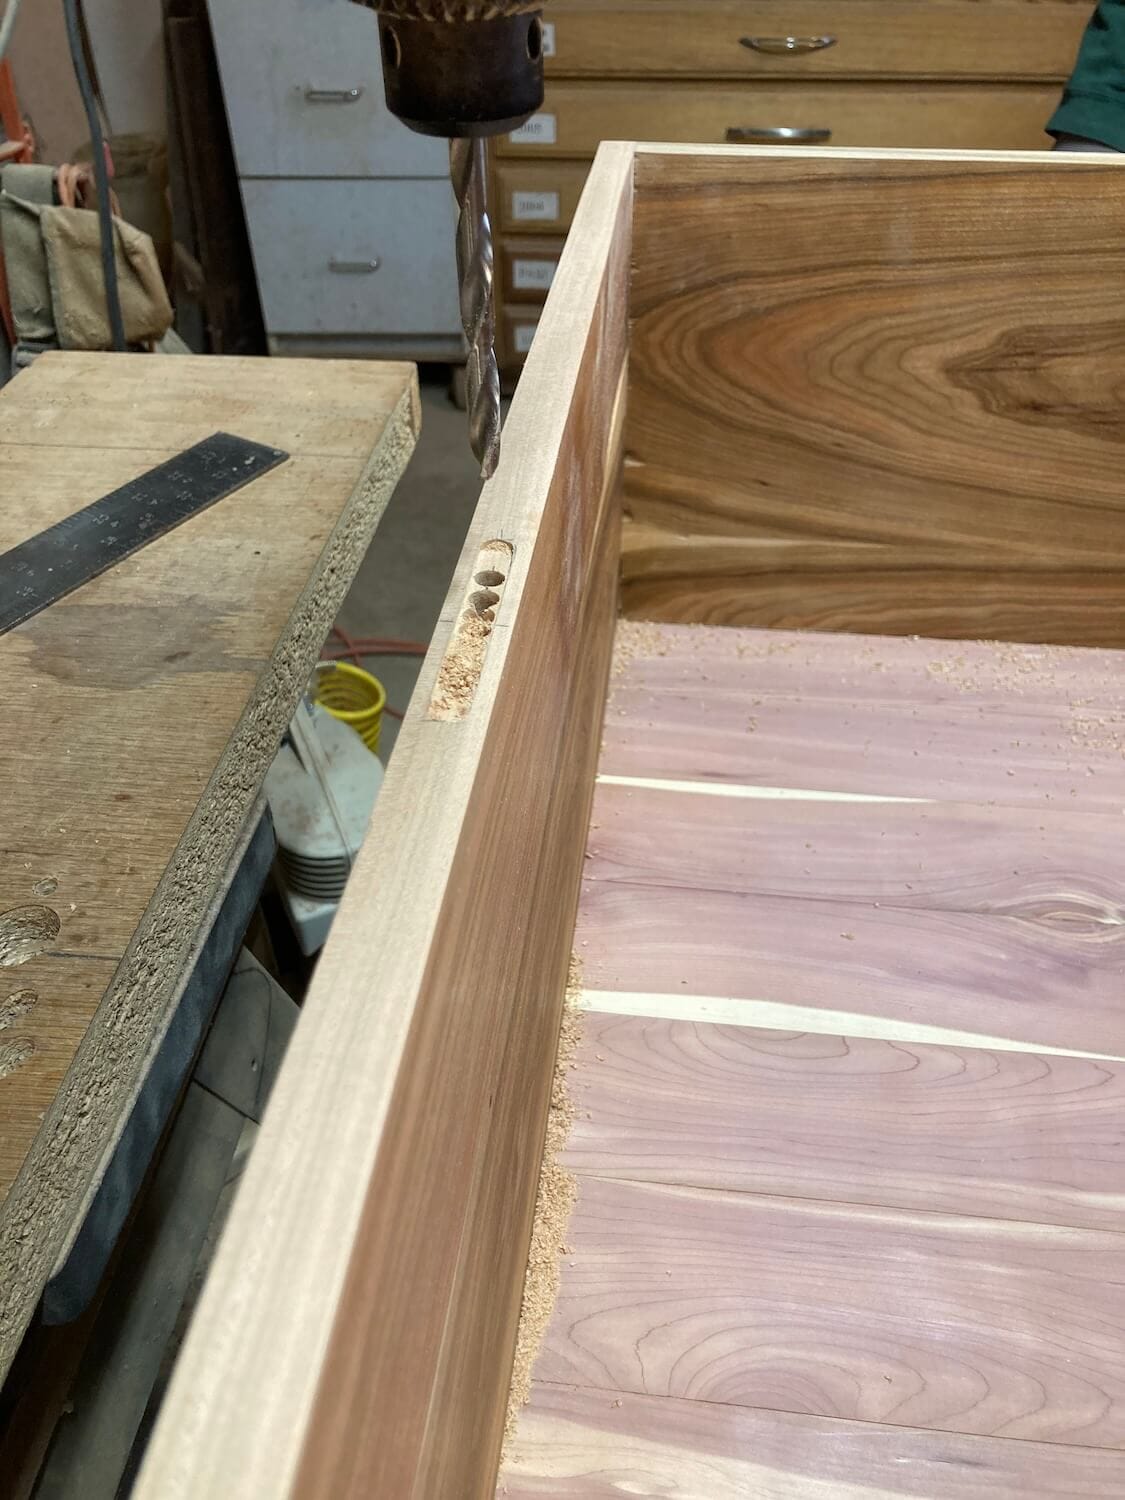
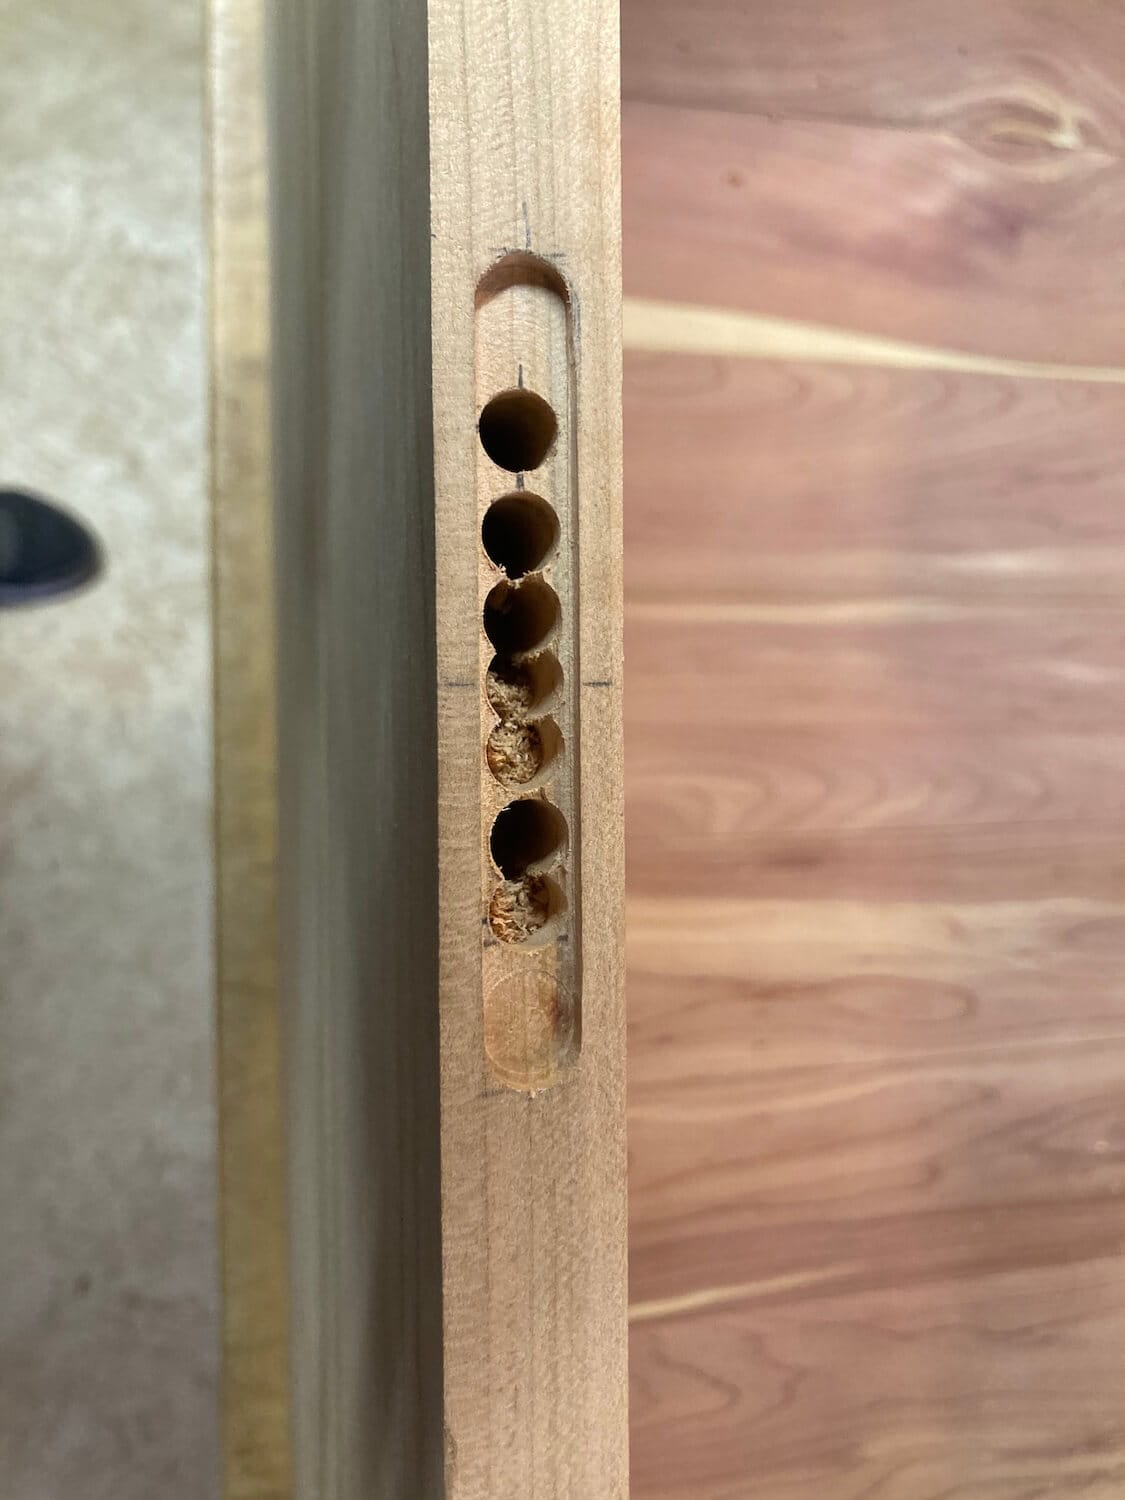
But do you know what actually took the most time? Putting the lock in. We used a router to make the initial pass, then set the chest up on sawhorses and used the drill press to get most of the material out before coming back to the router to finish cleaning it out.
A big chunk of my time is taken up with trying something, taking it out, adjusting, trying it again, taking it out, adjusting, repeat numerous times. Such was the case with the lock, which needed to fit snugly and match up perfectly with the clasp in the lid. We ended up breaking the lock at one point, and Dad came up with a way to drill out the inner mechanism and replace it with a much more durable screw that won't break in the future.
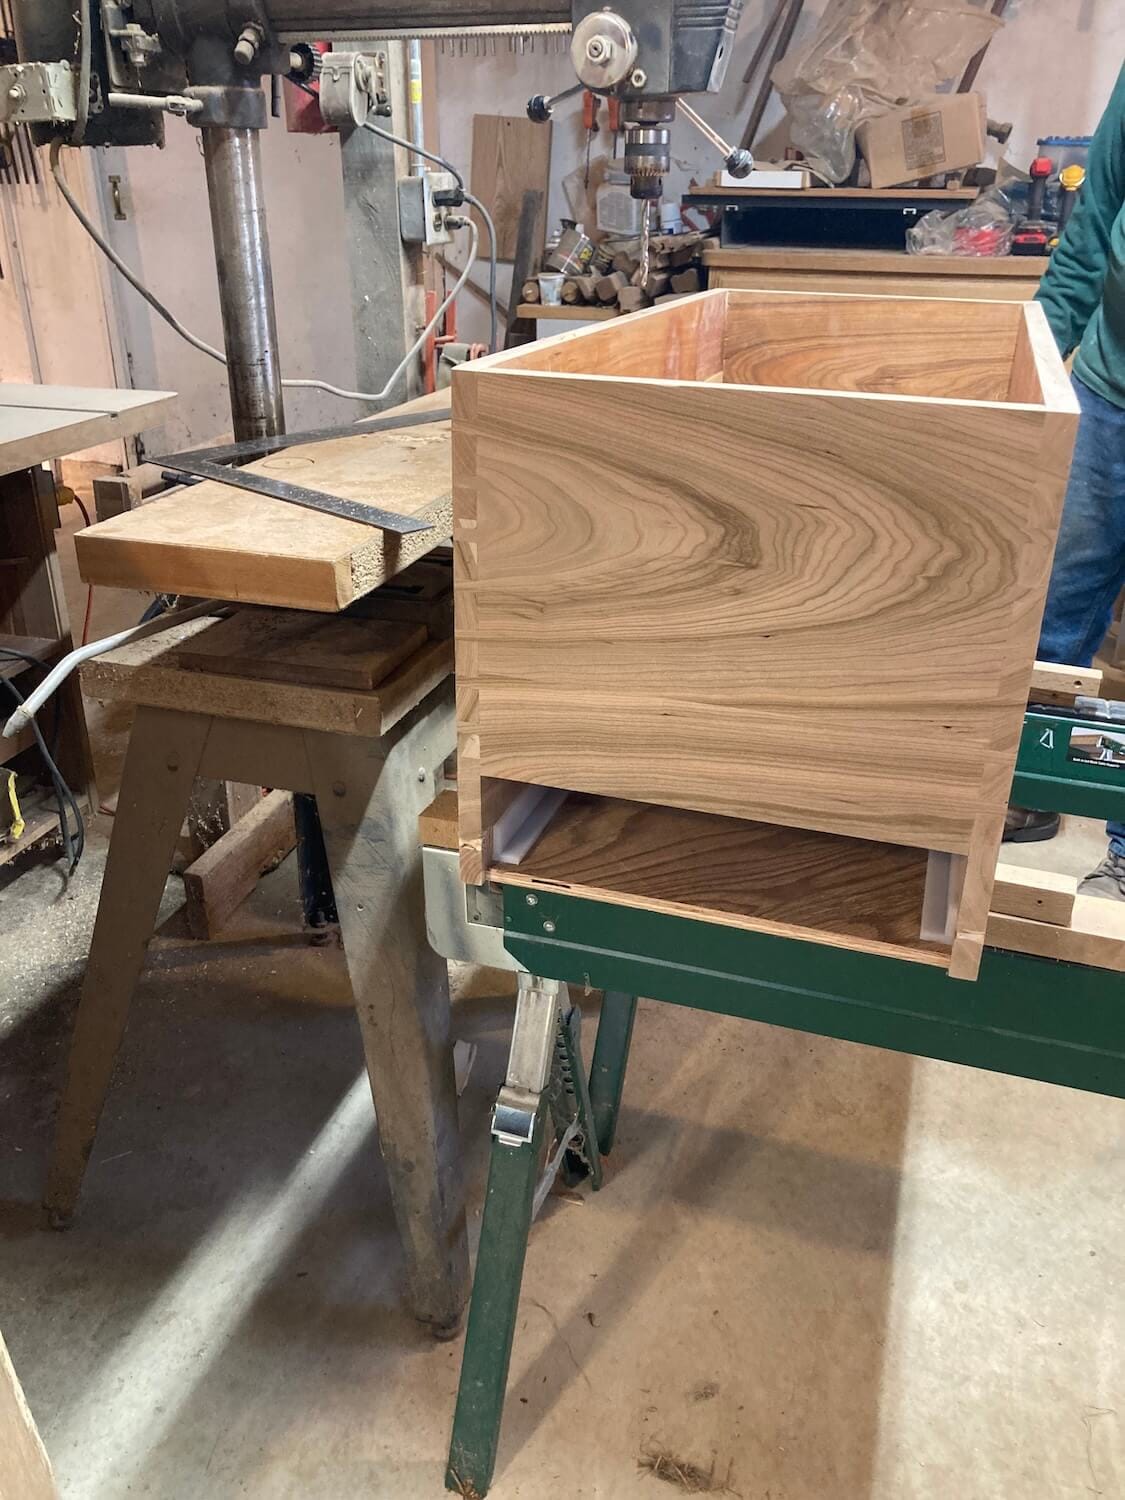
With the main part of the chest complete, I turned my focus to putting finish on, then making the drawers and bottom frame.

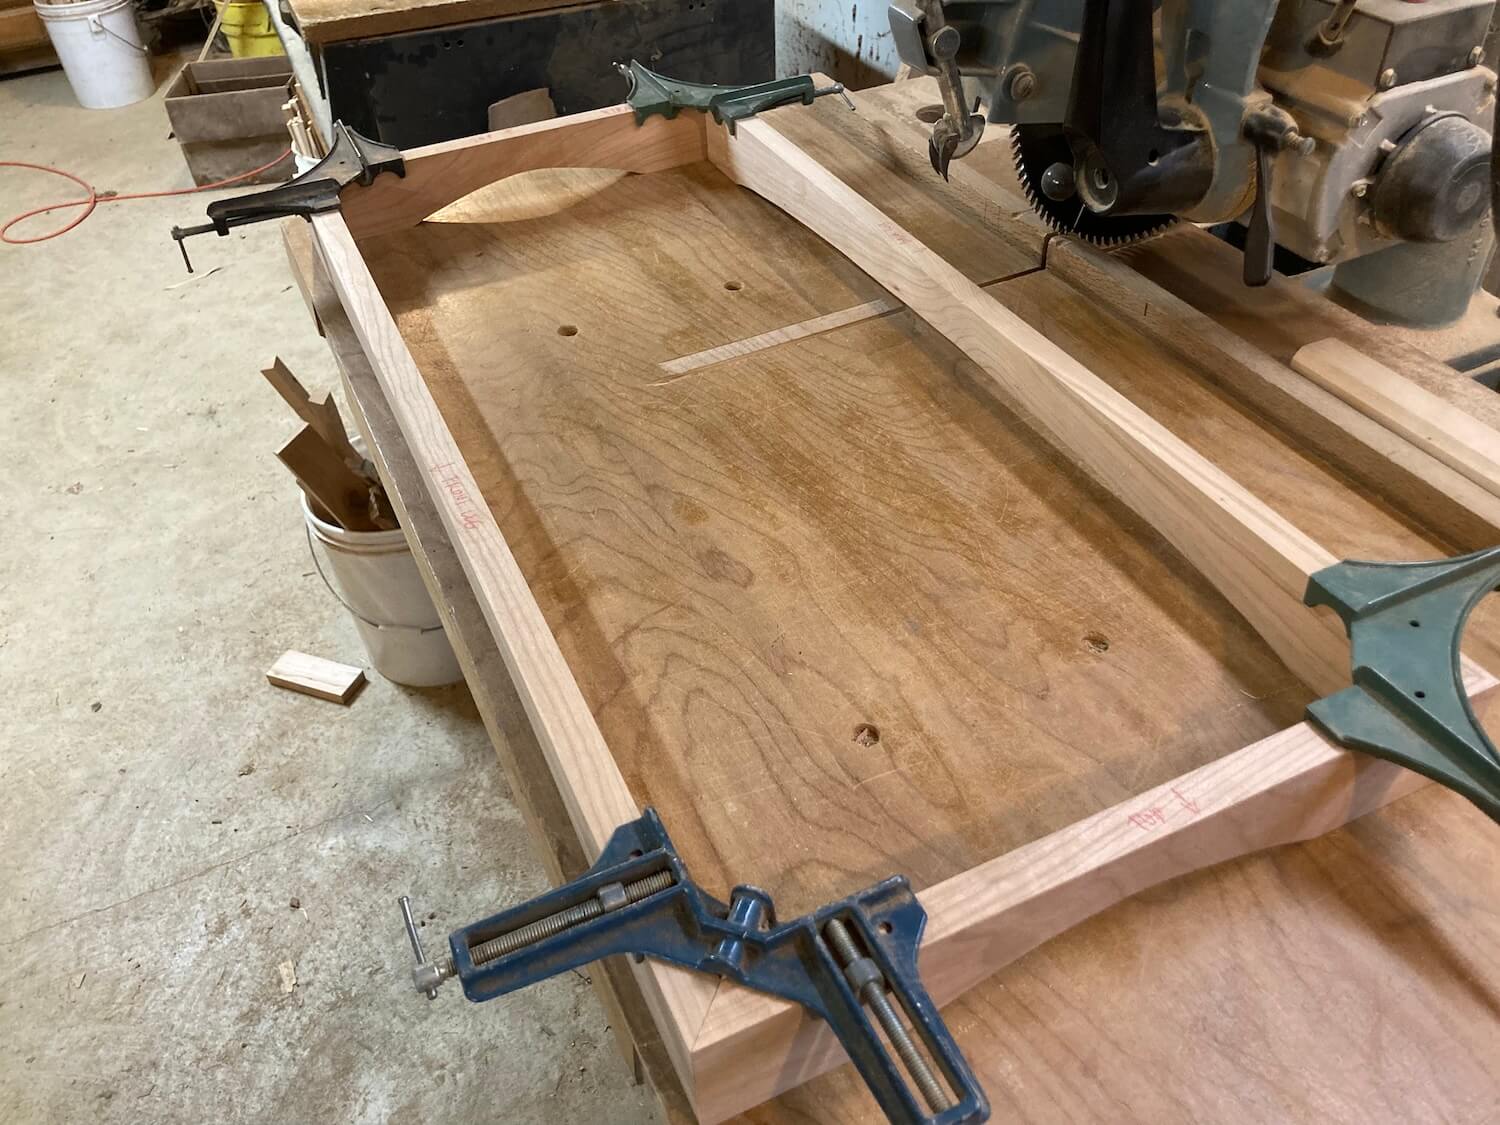
Currently the chest is sitting in my office, not quite done but on hold while the final coat of finish dries on the drawer fronts. Once that's done, I just have to attach them to the drawer boxes and attach the chains to inside of the chest (so that when the lid is opened it doesn't flop back too far).
When people ask what I do, I tell them I take big pieces of wood, turn them into small pieces of wood, and then put them back together into something big again. It's as simple as that.